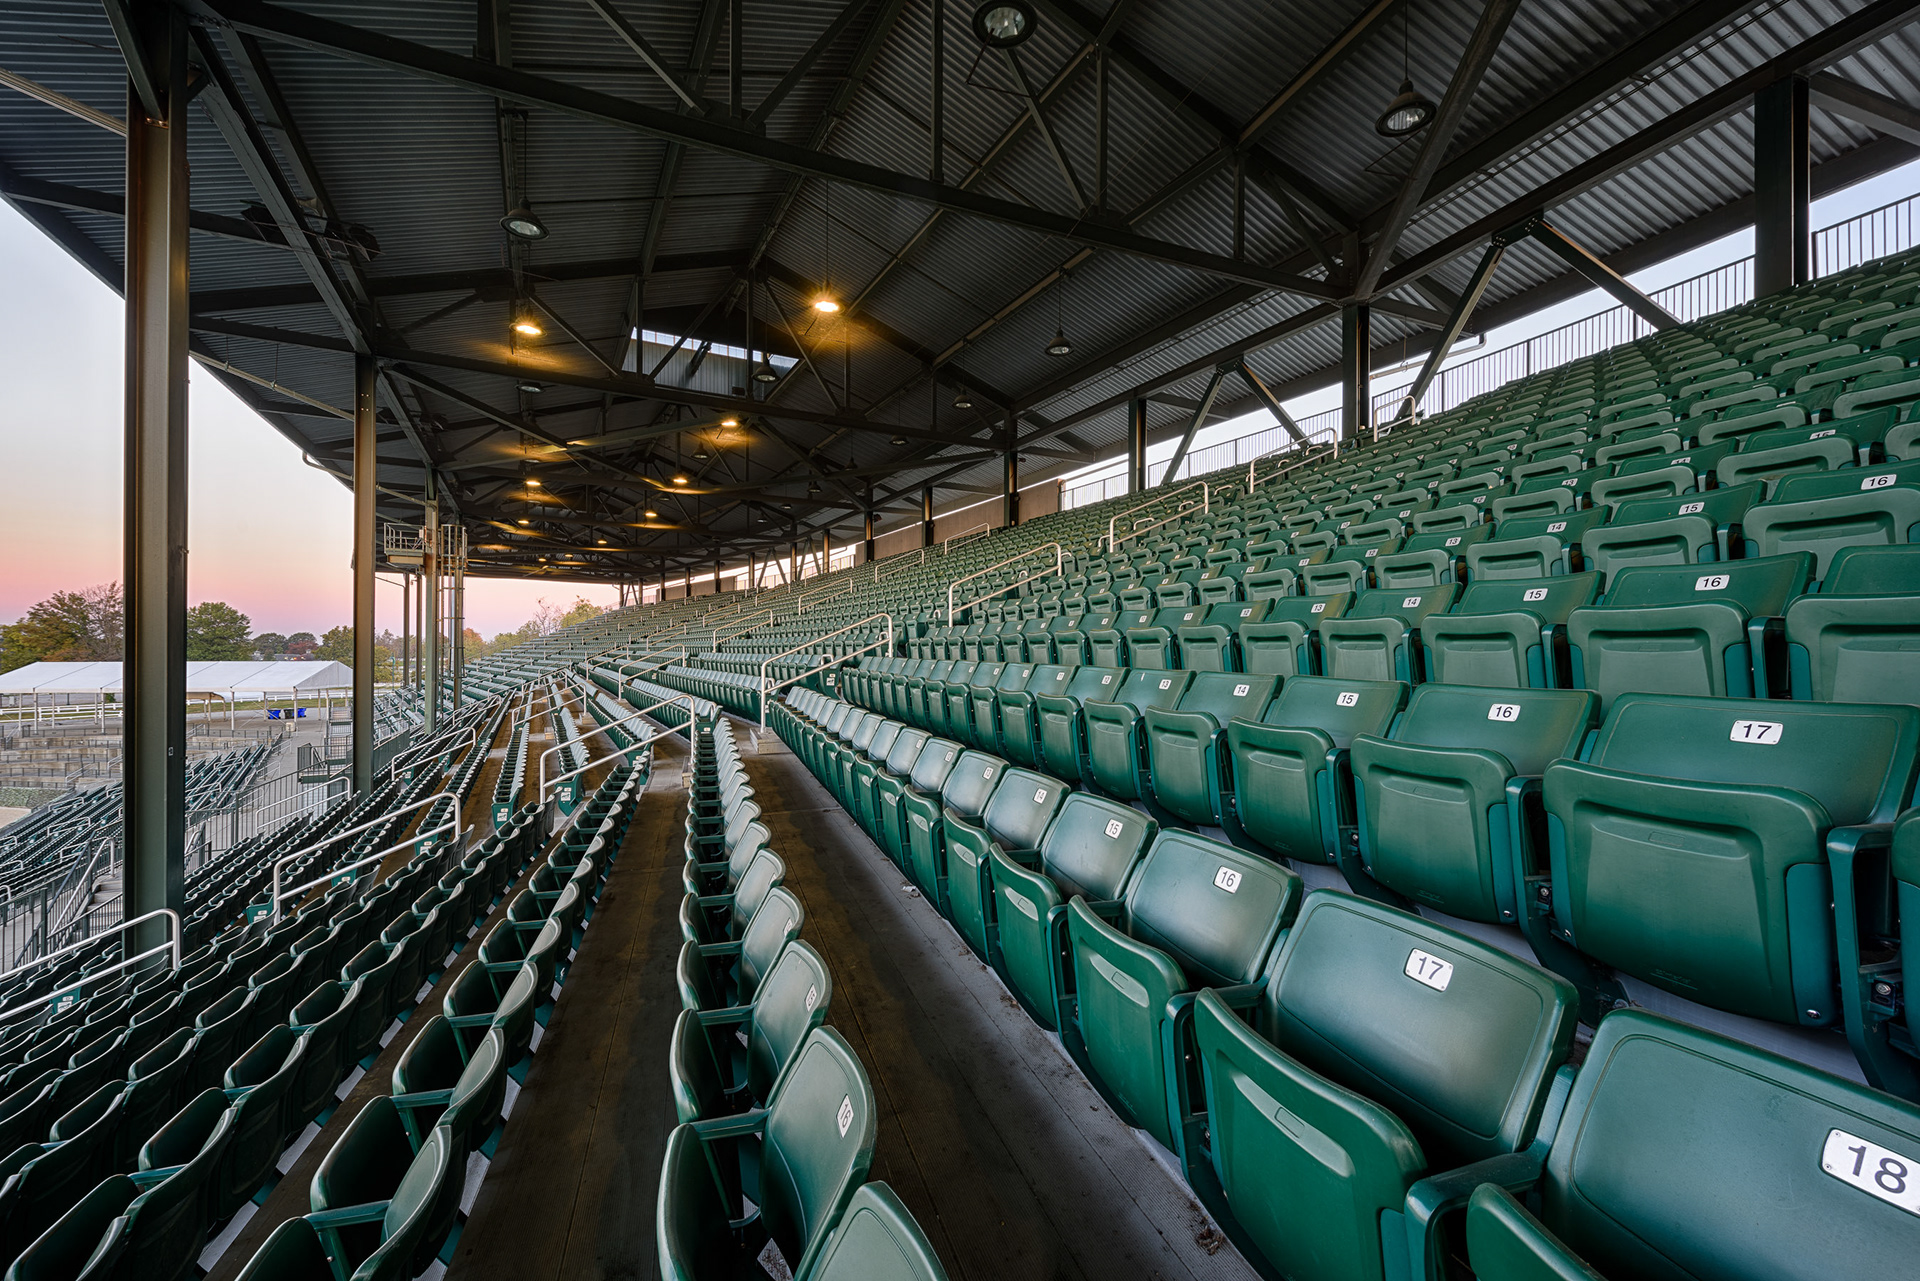
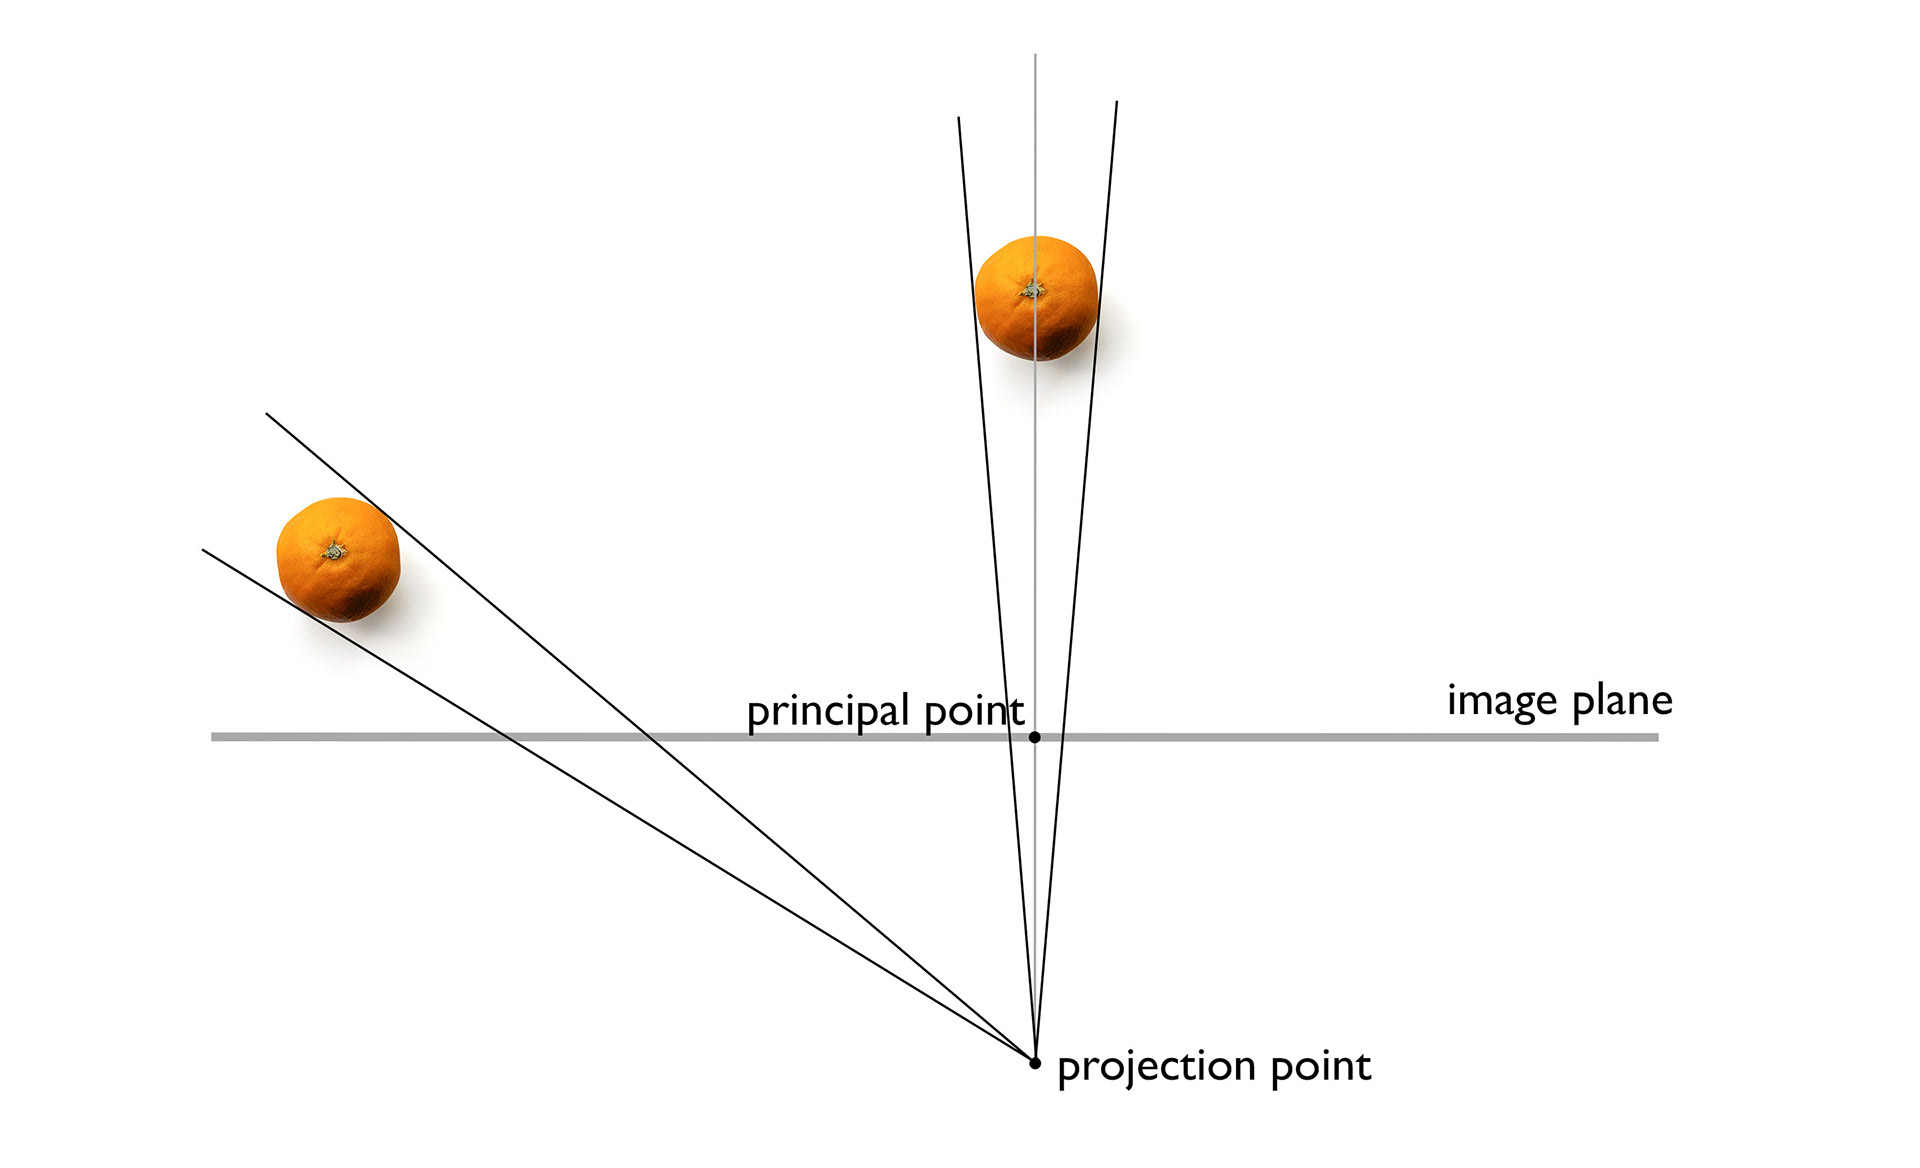
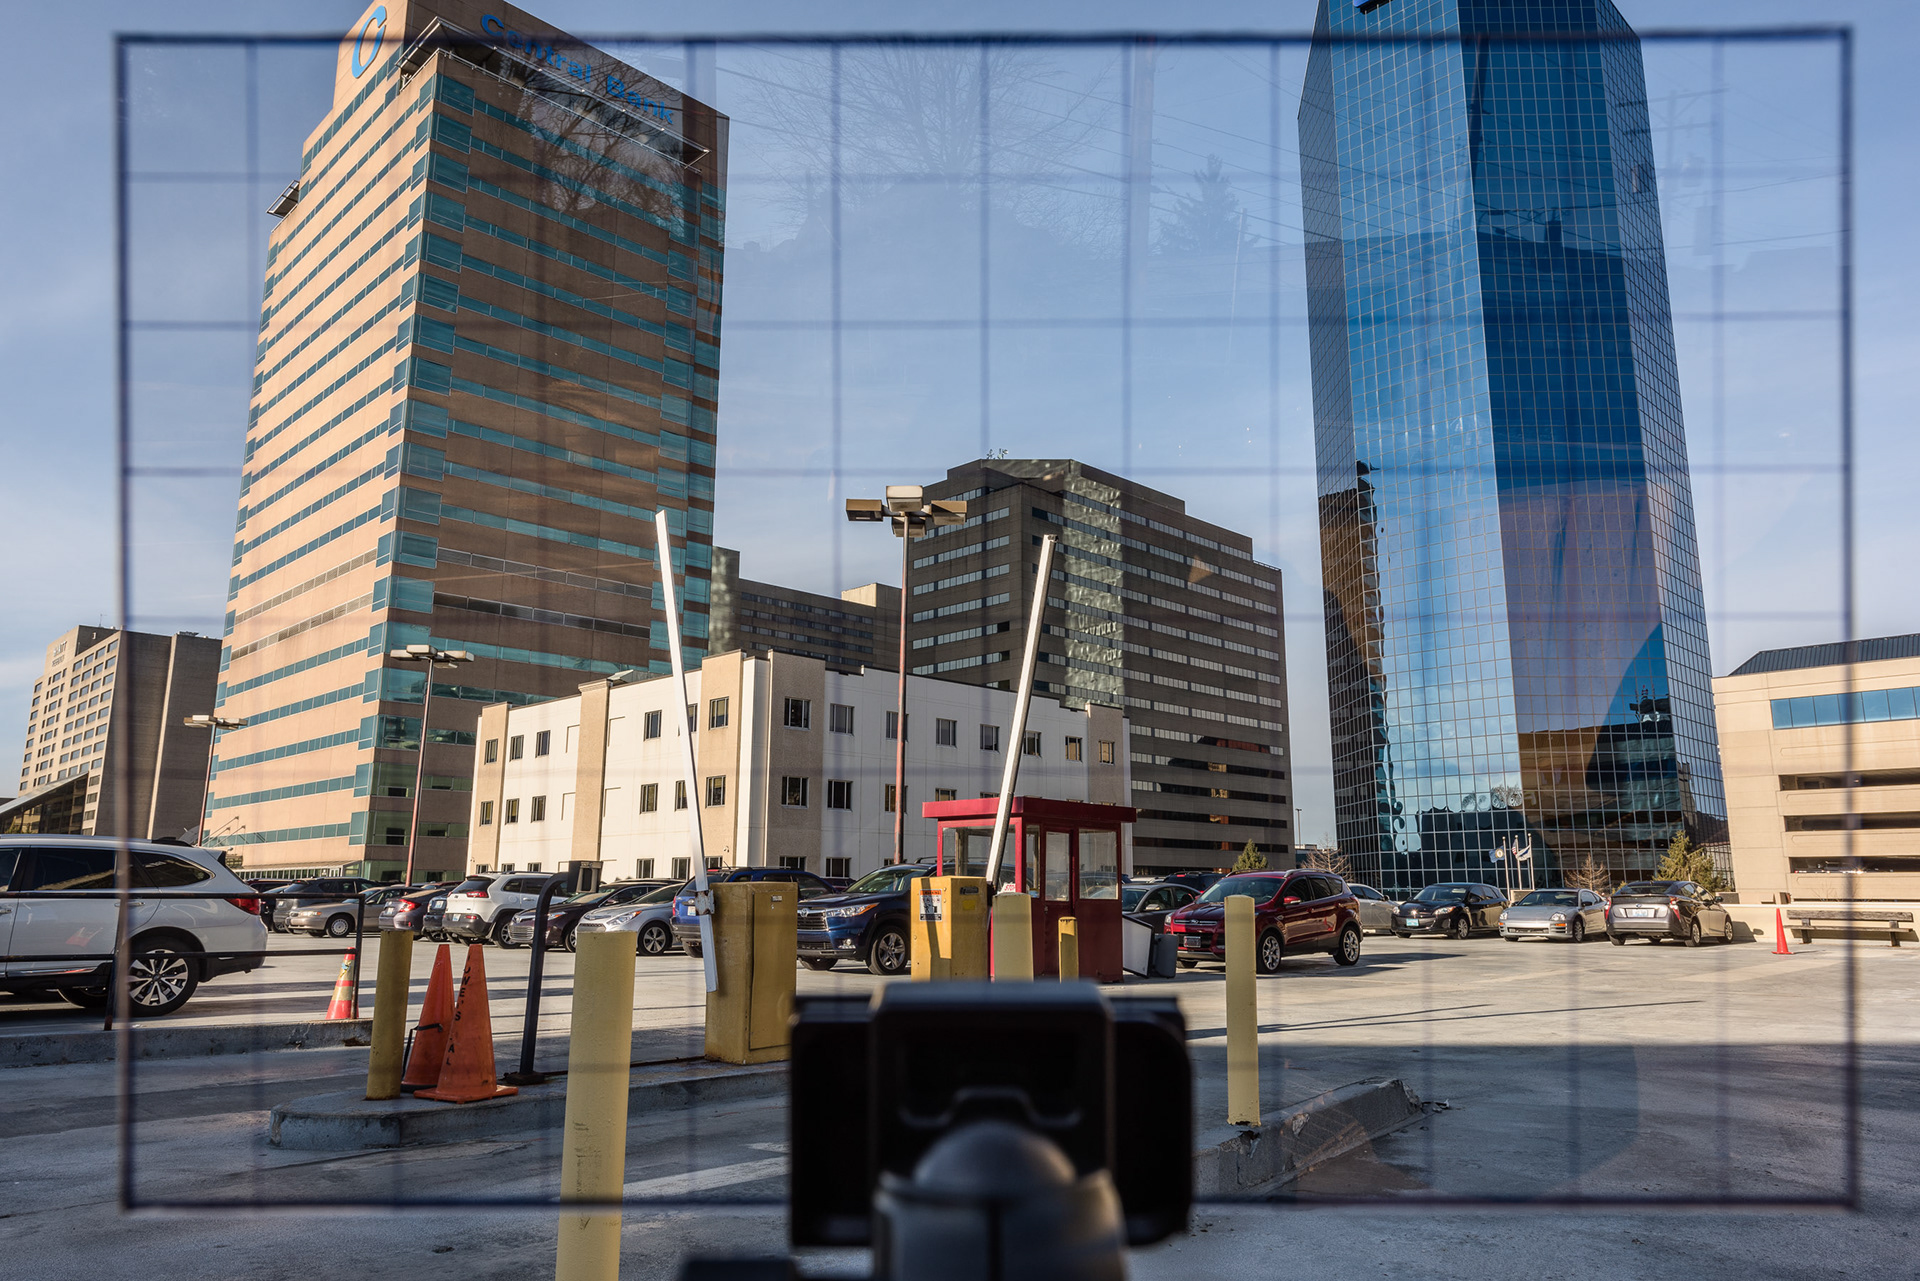
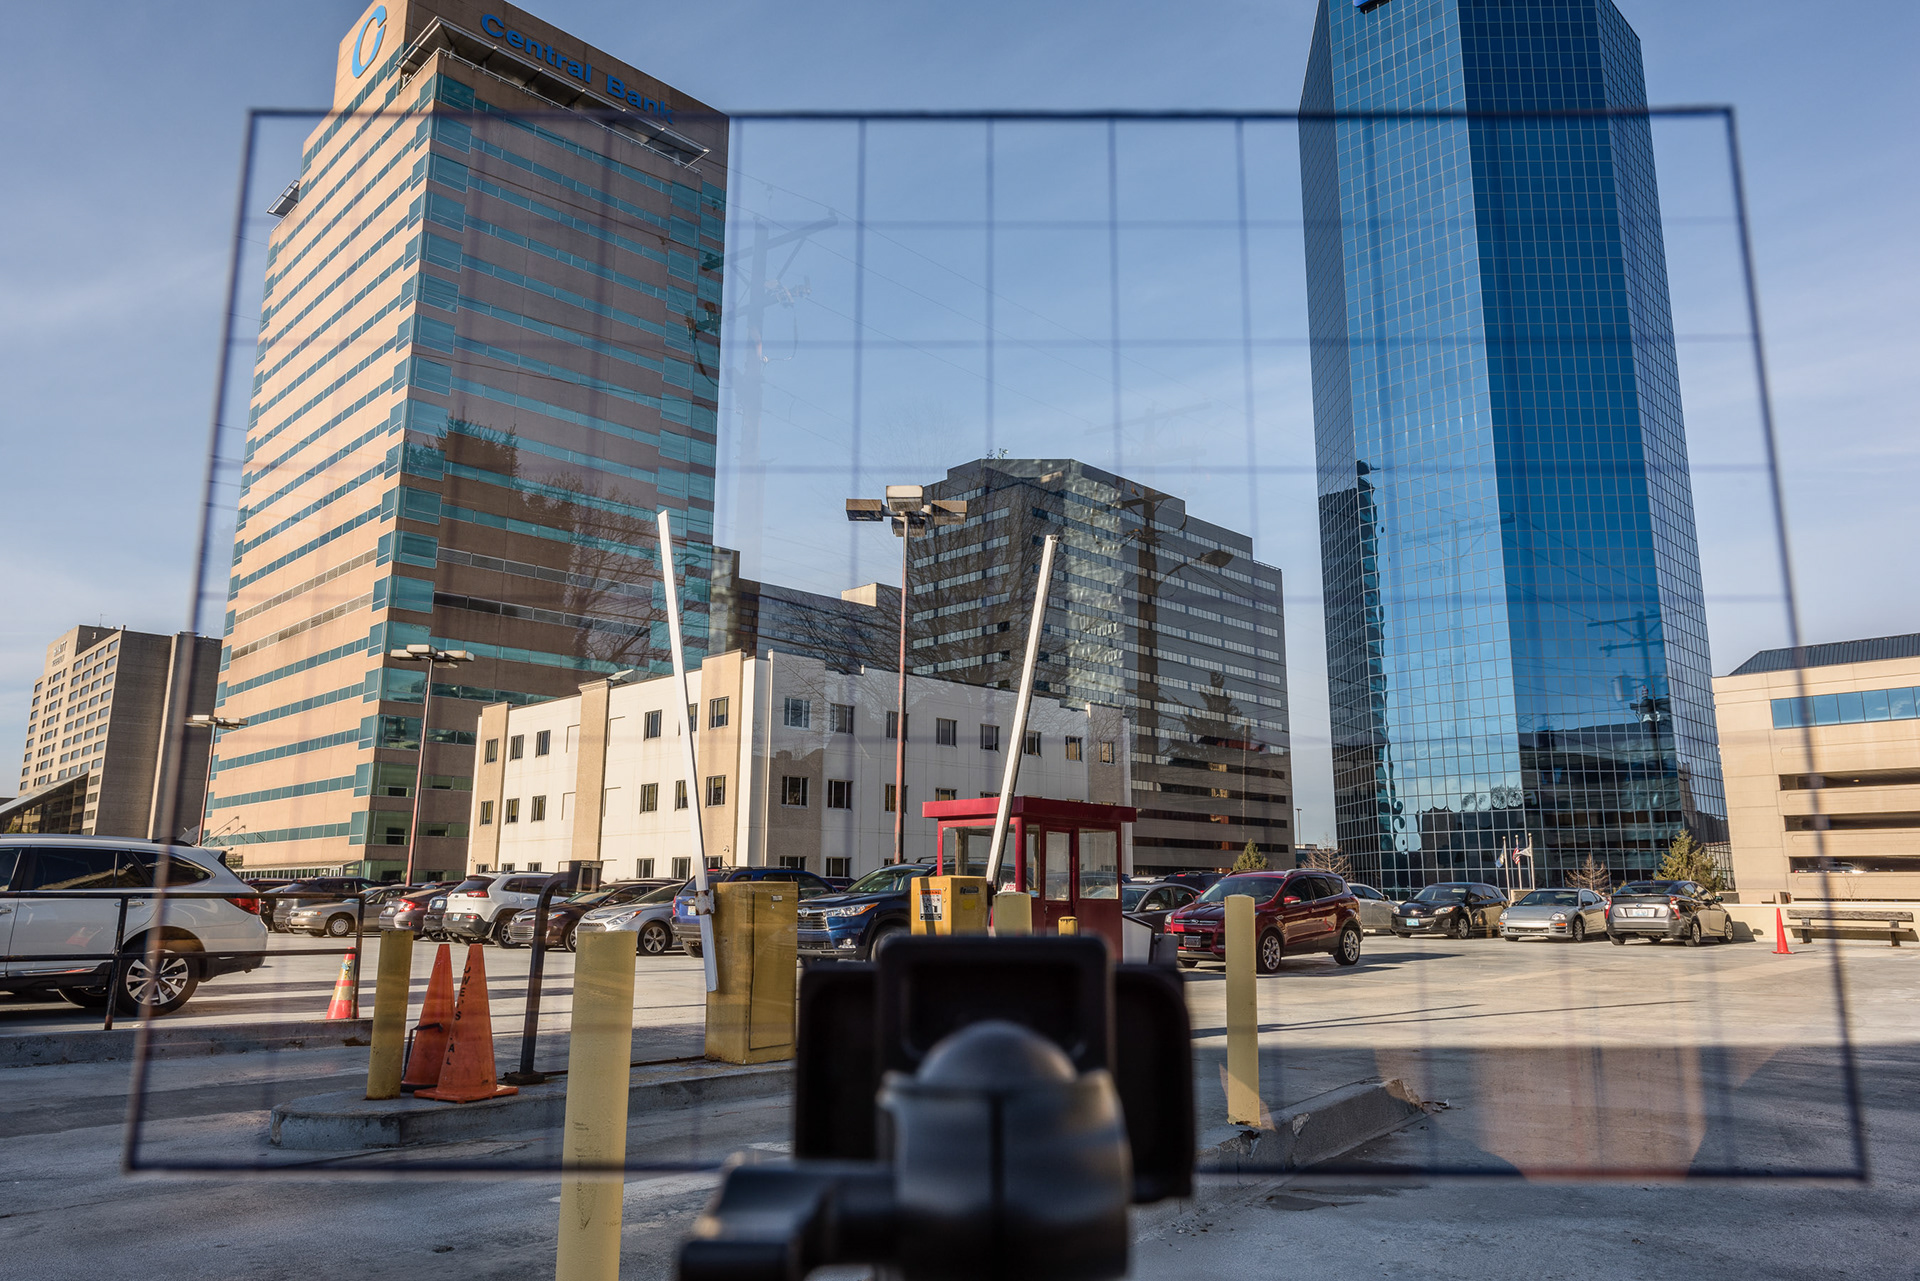
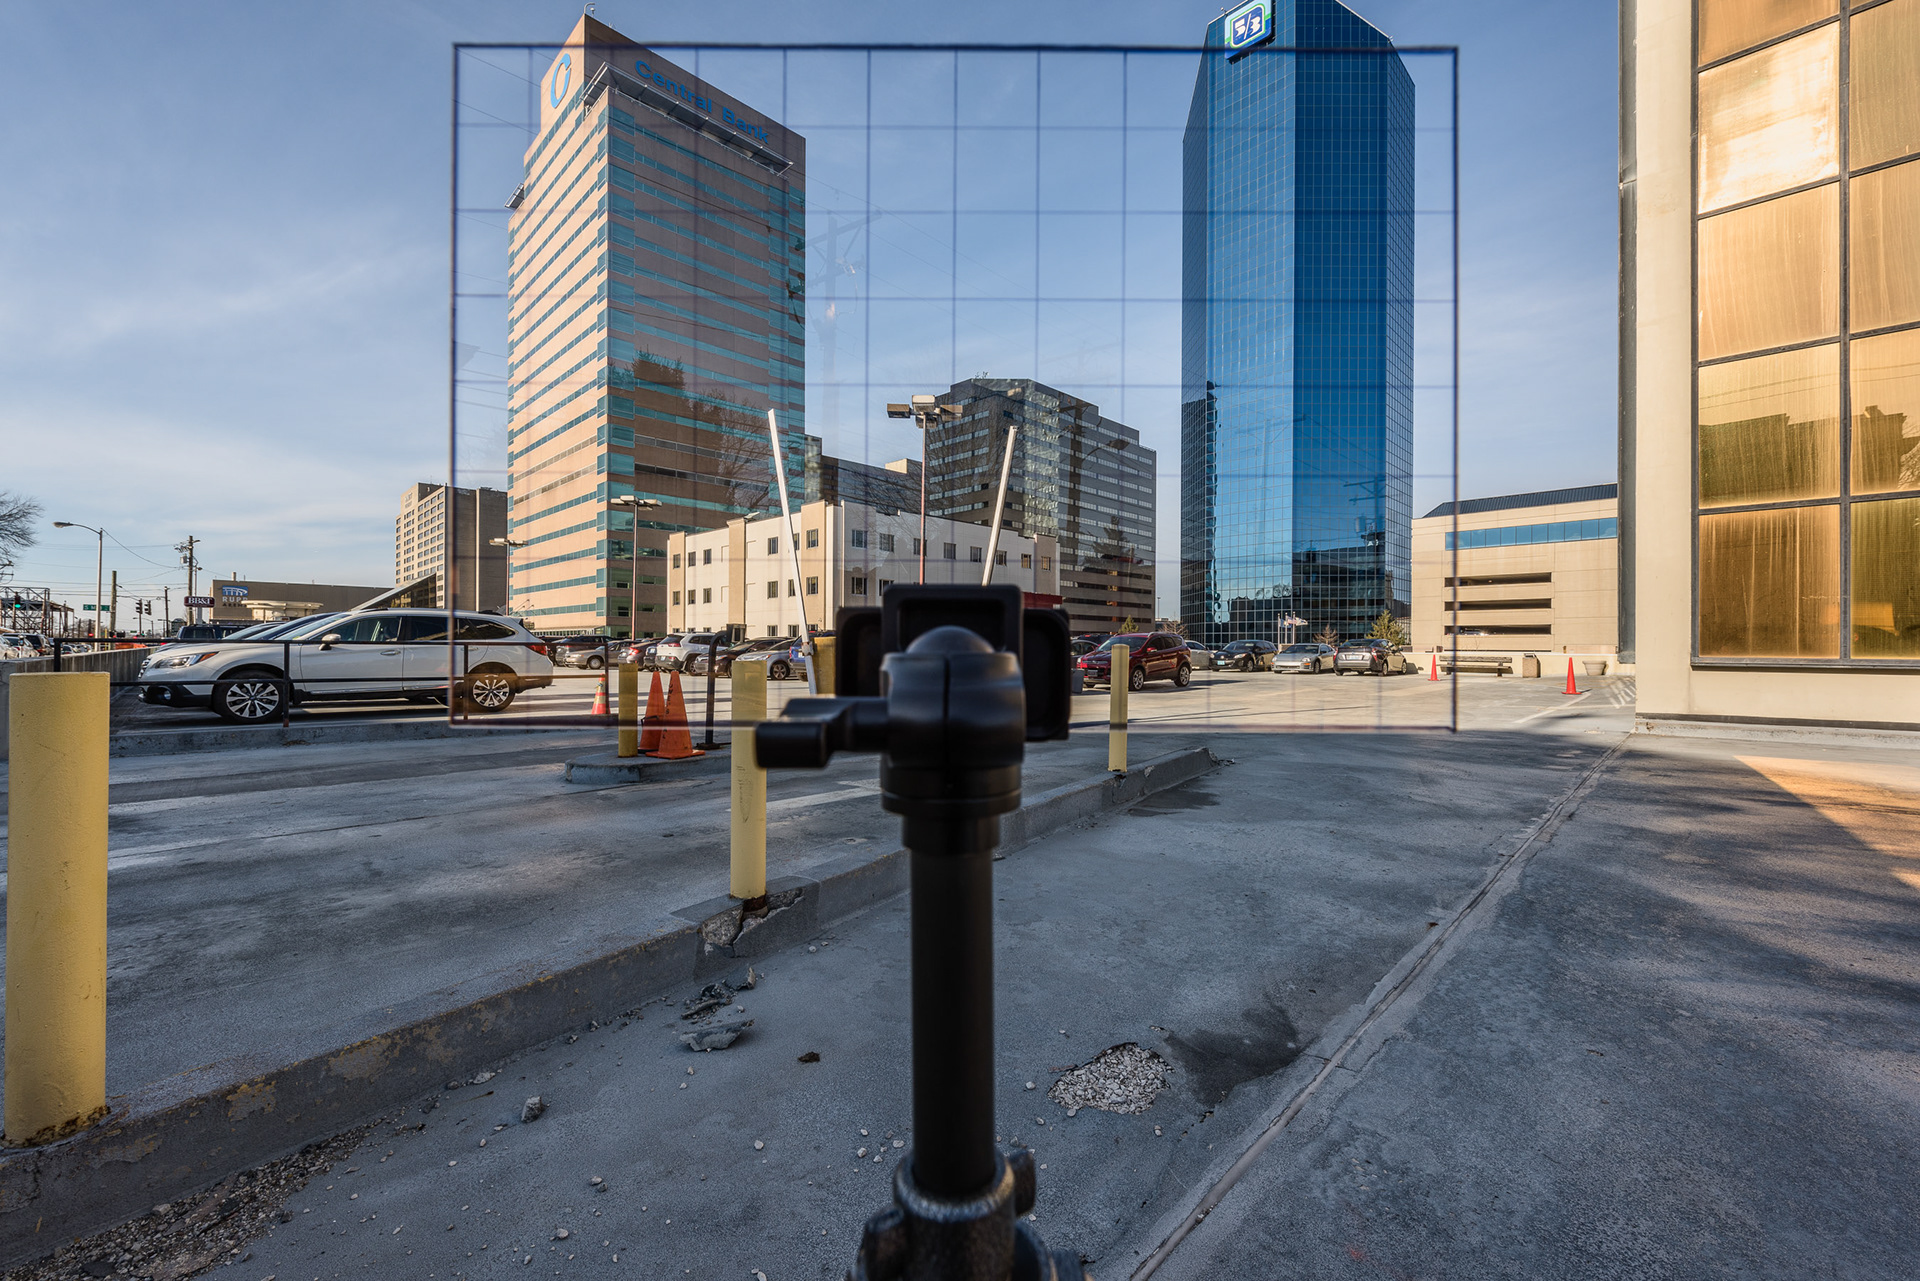
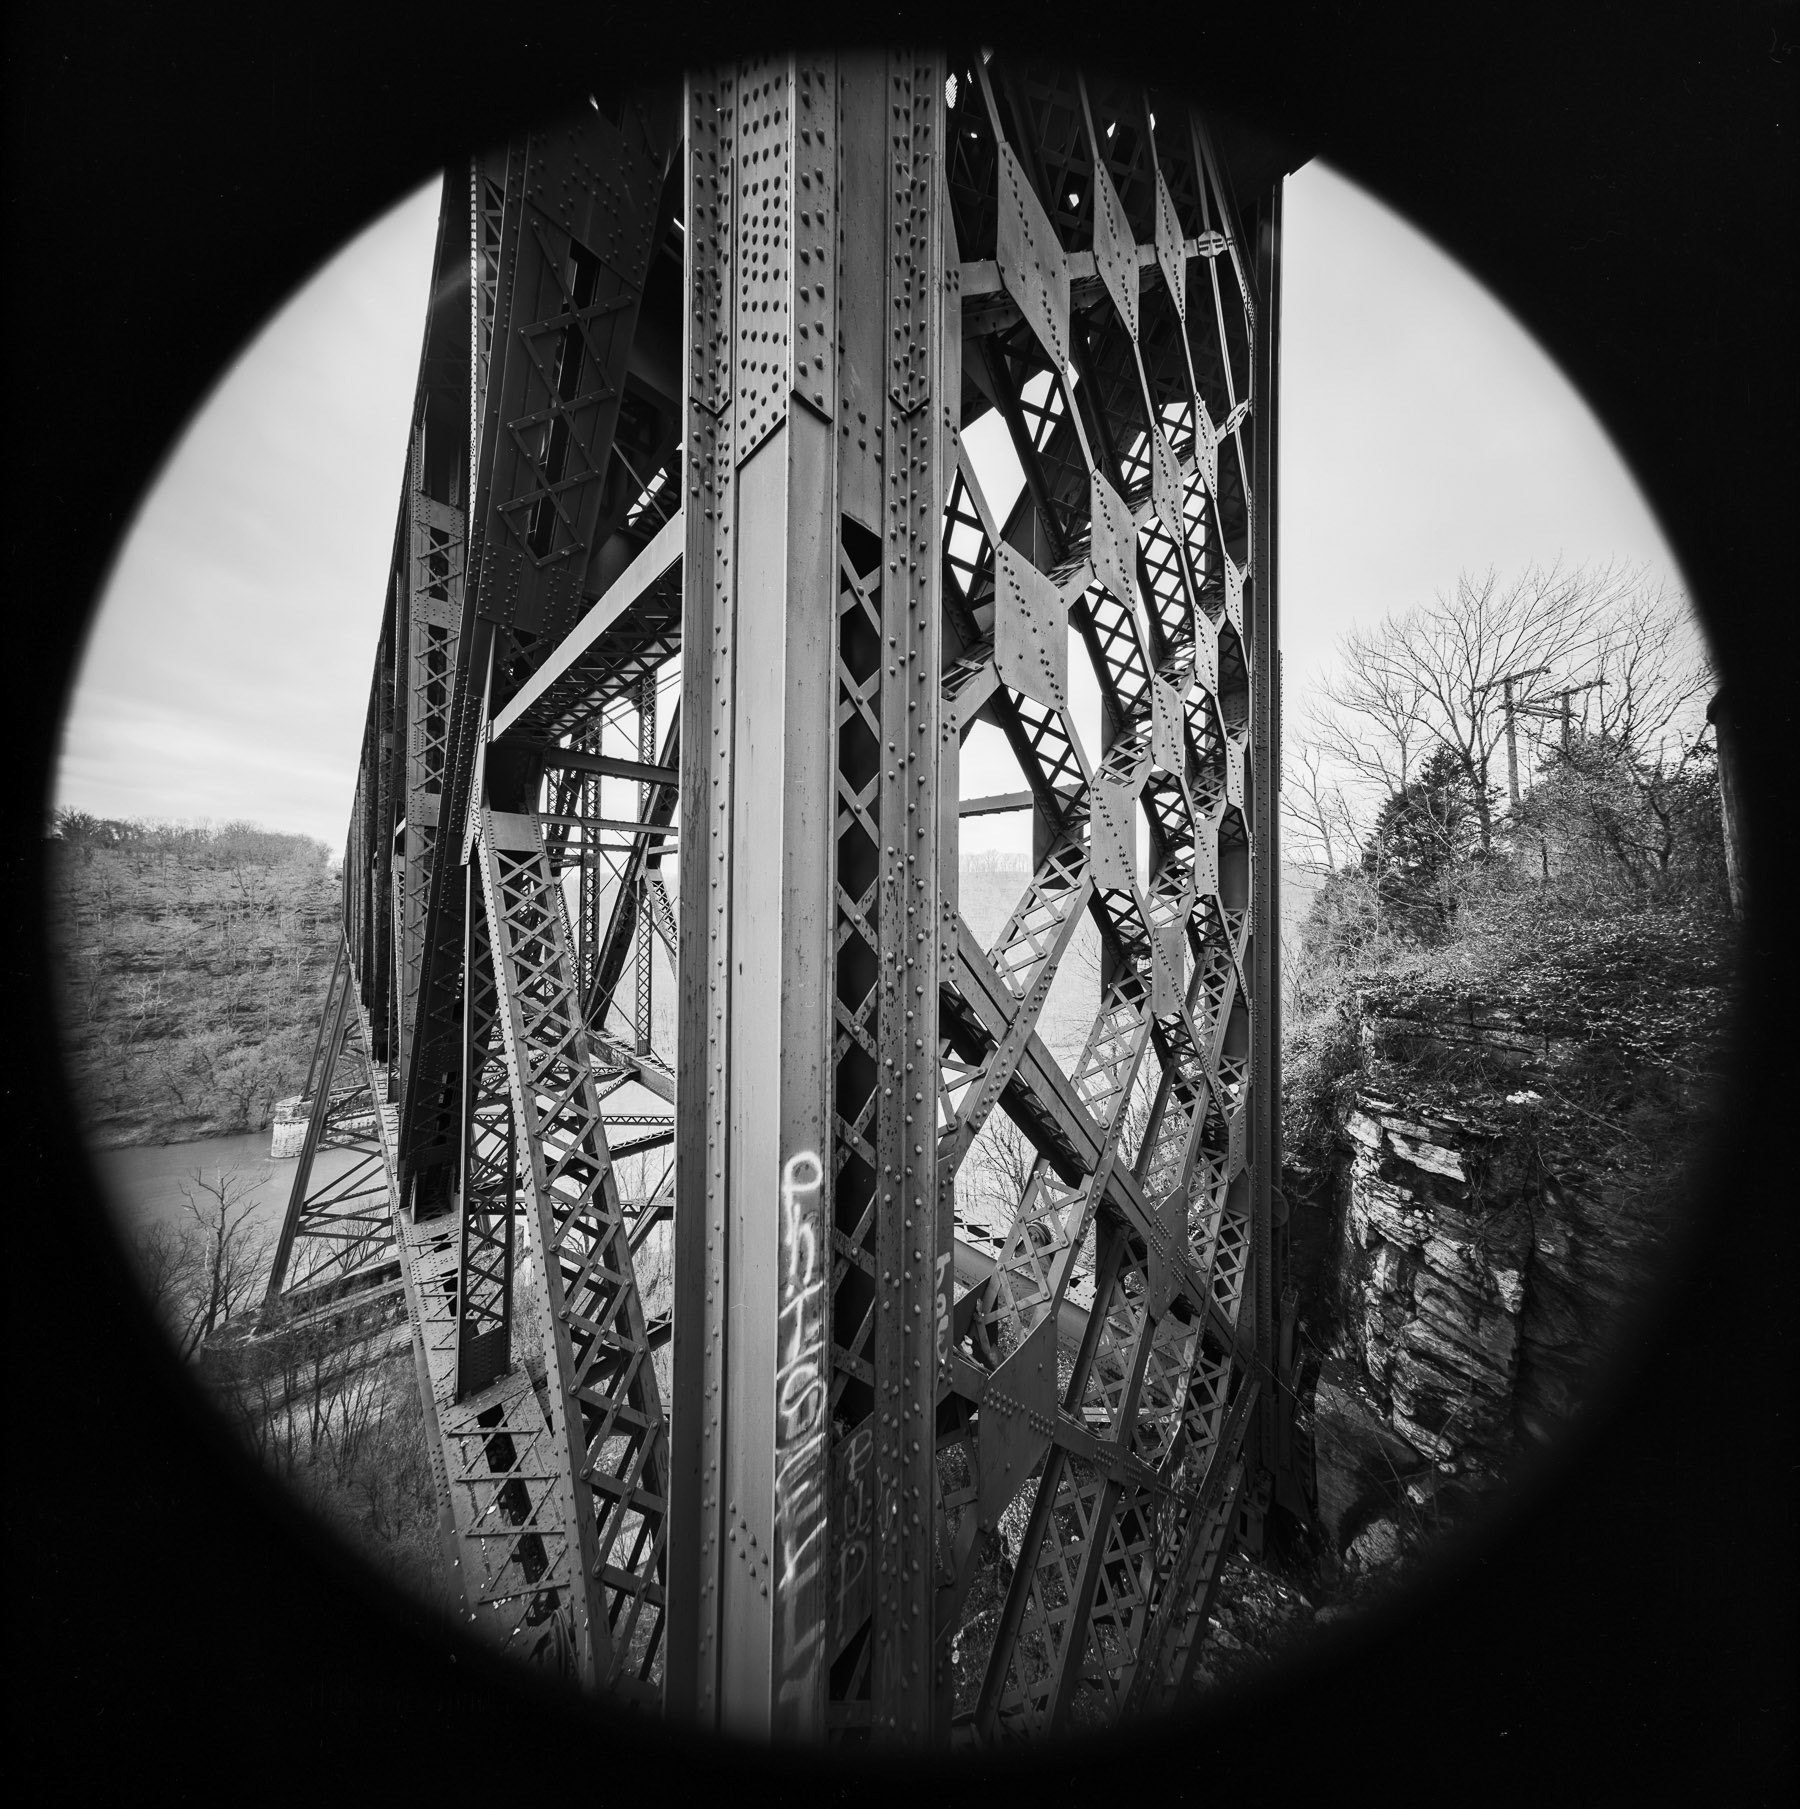
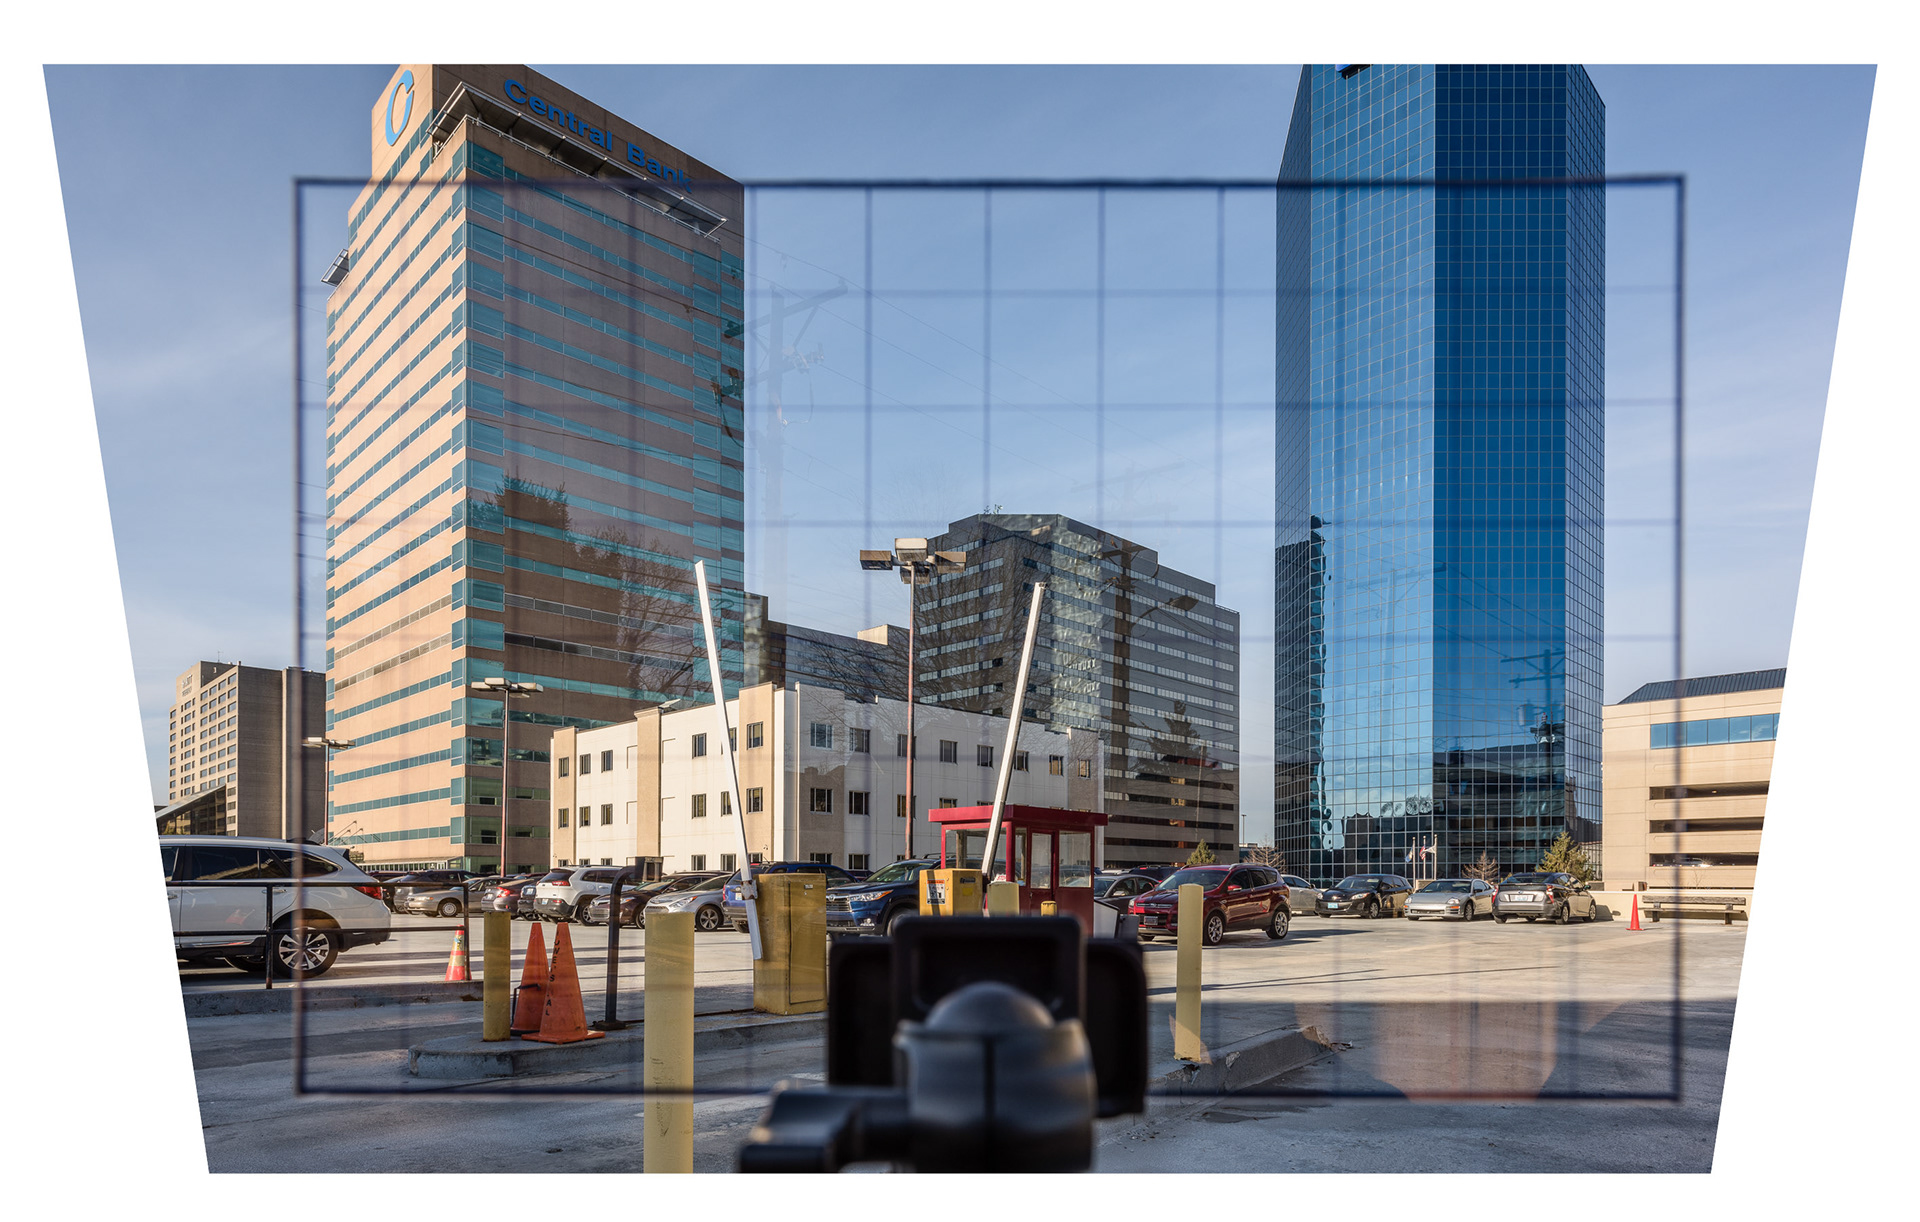
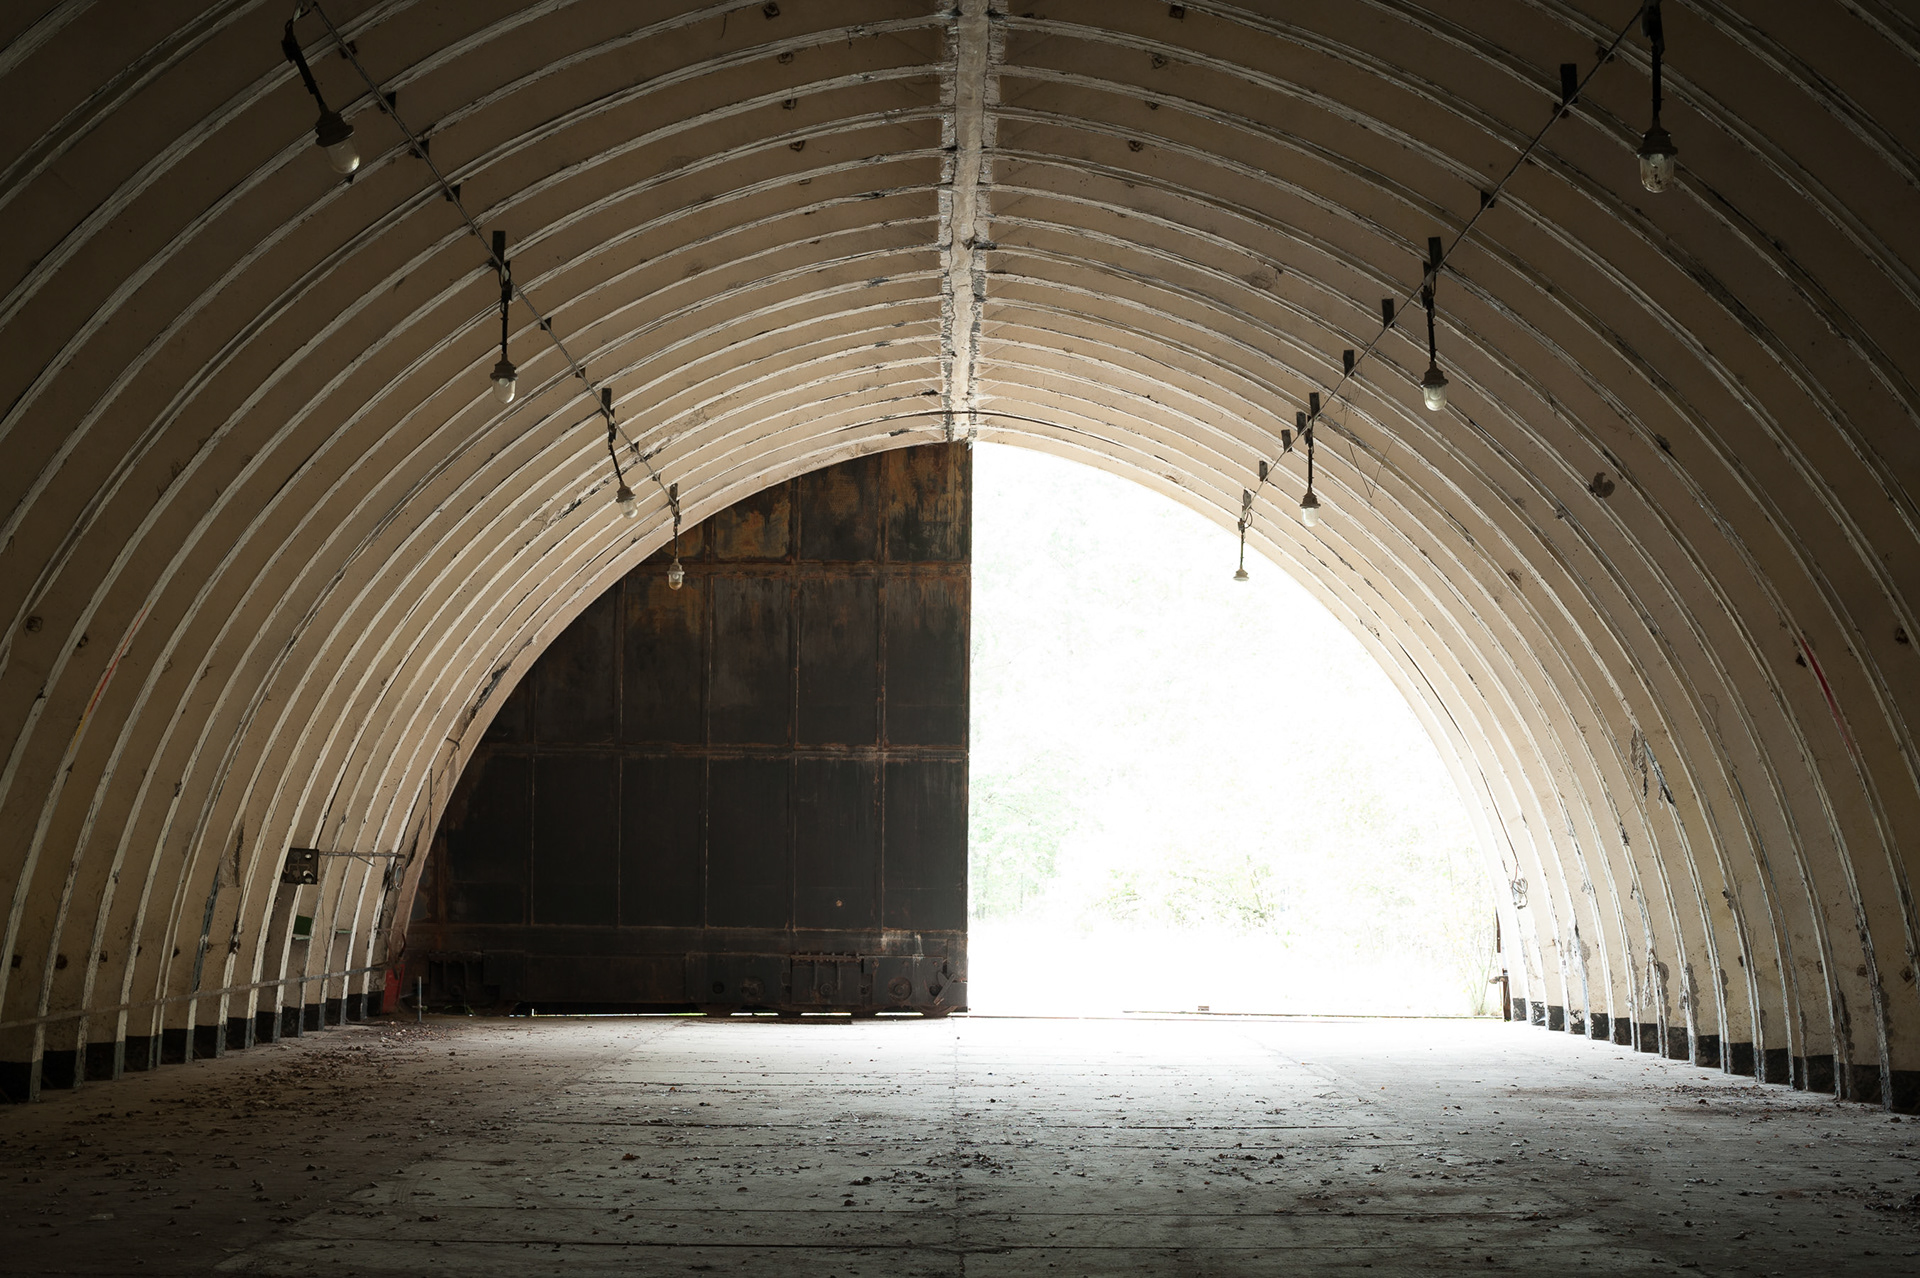
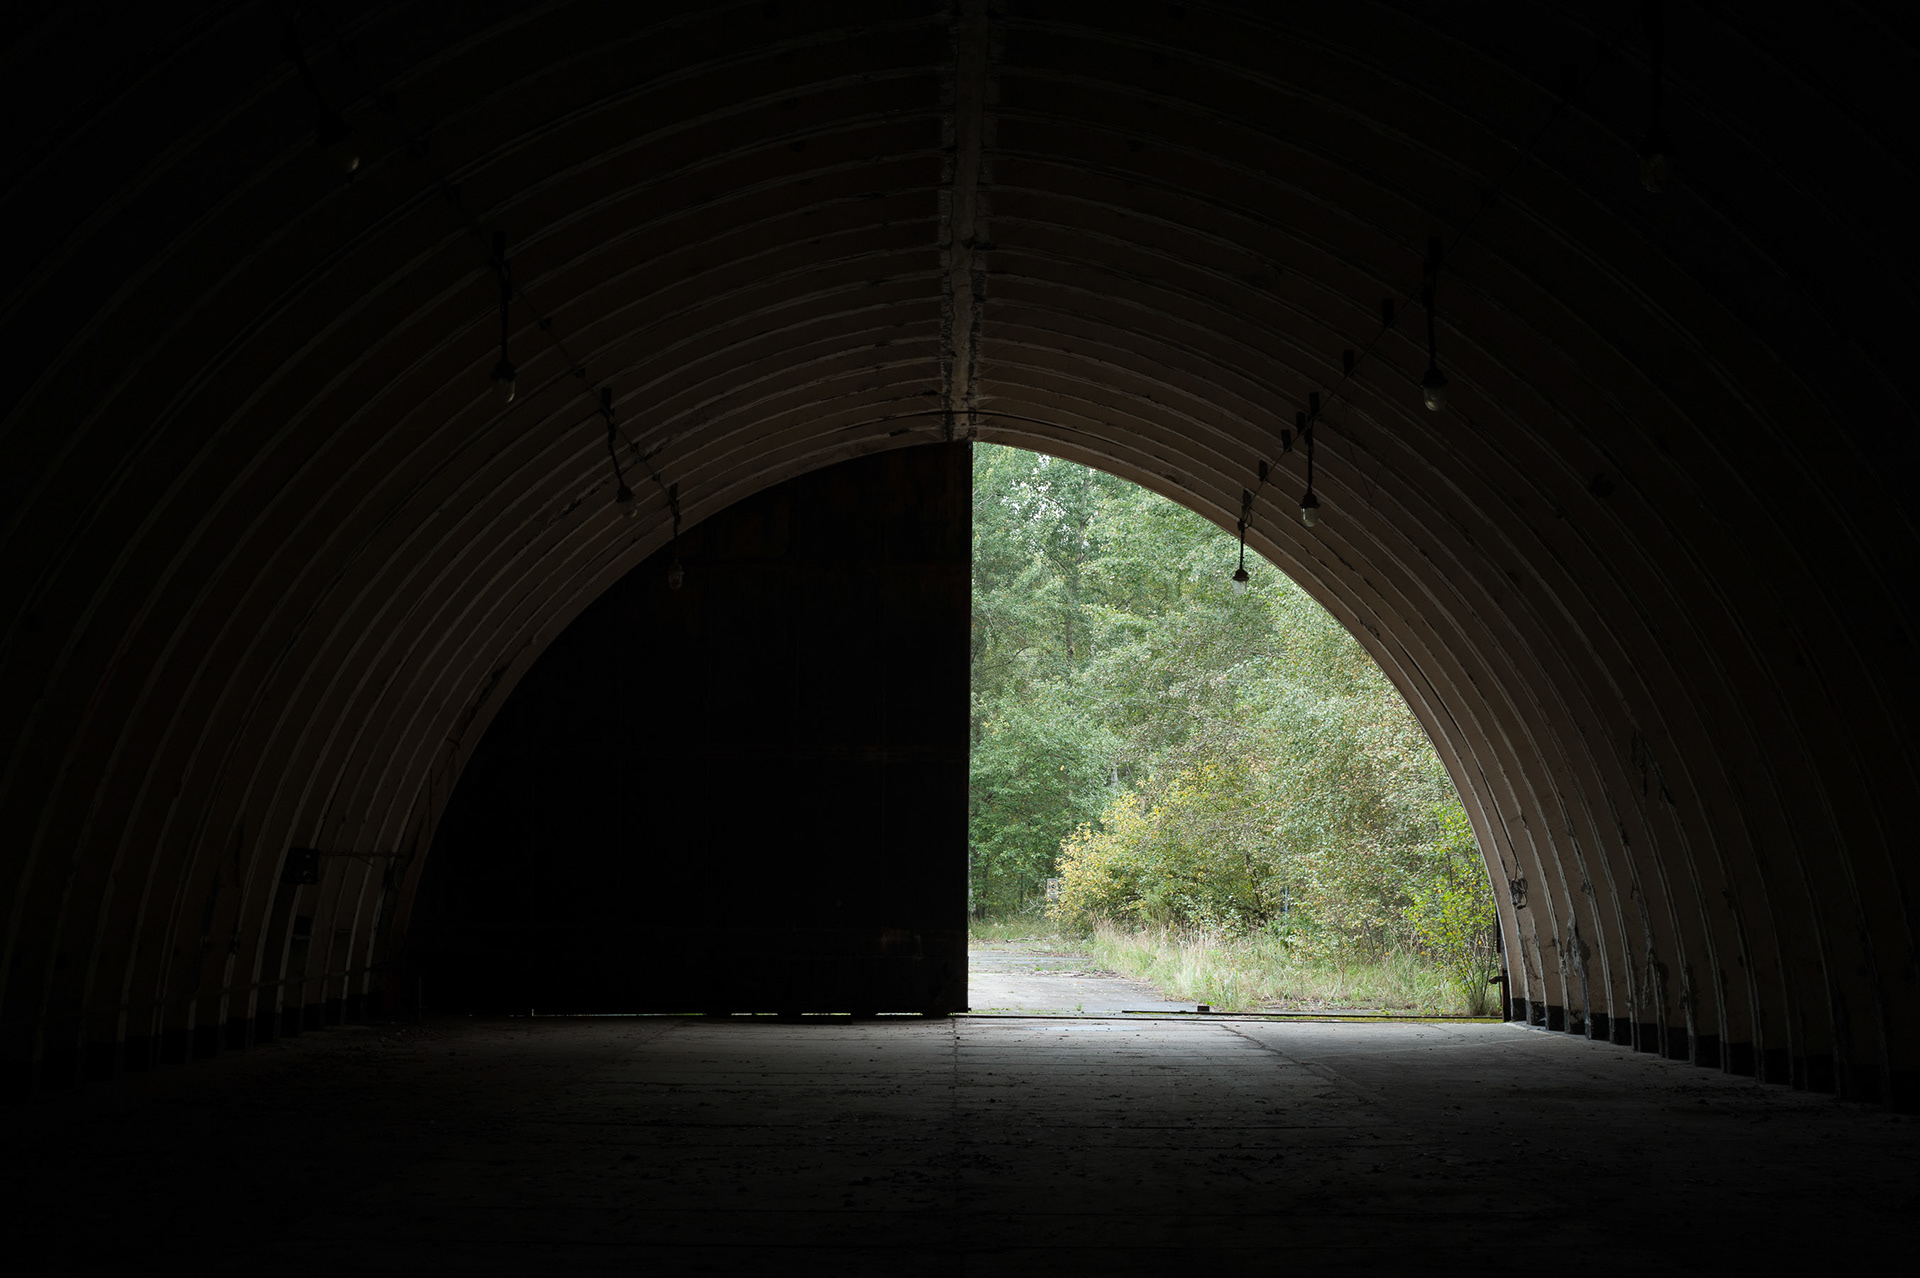
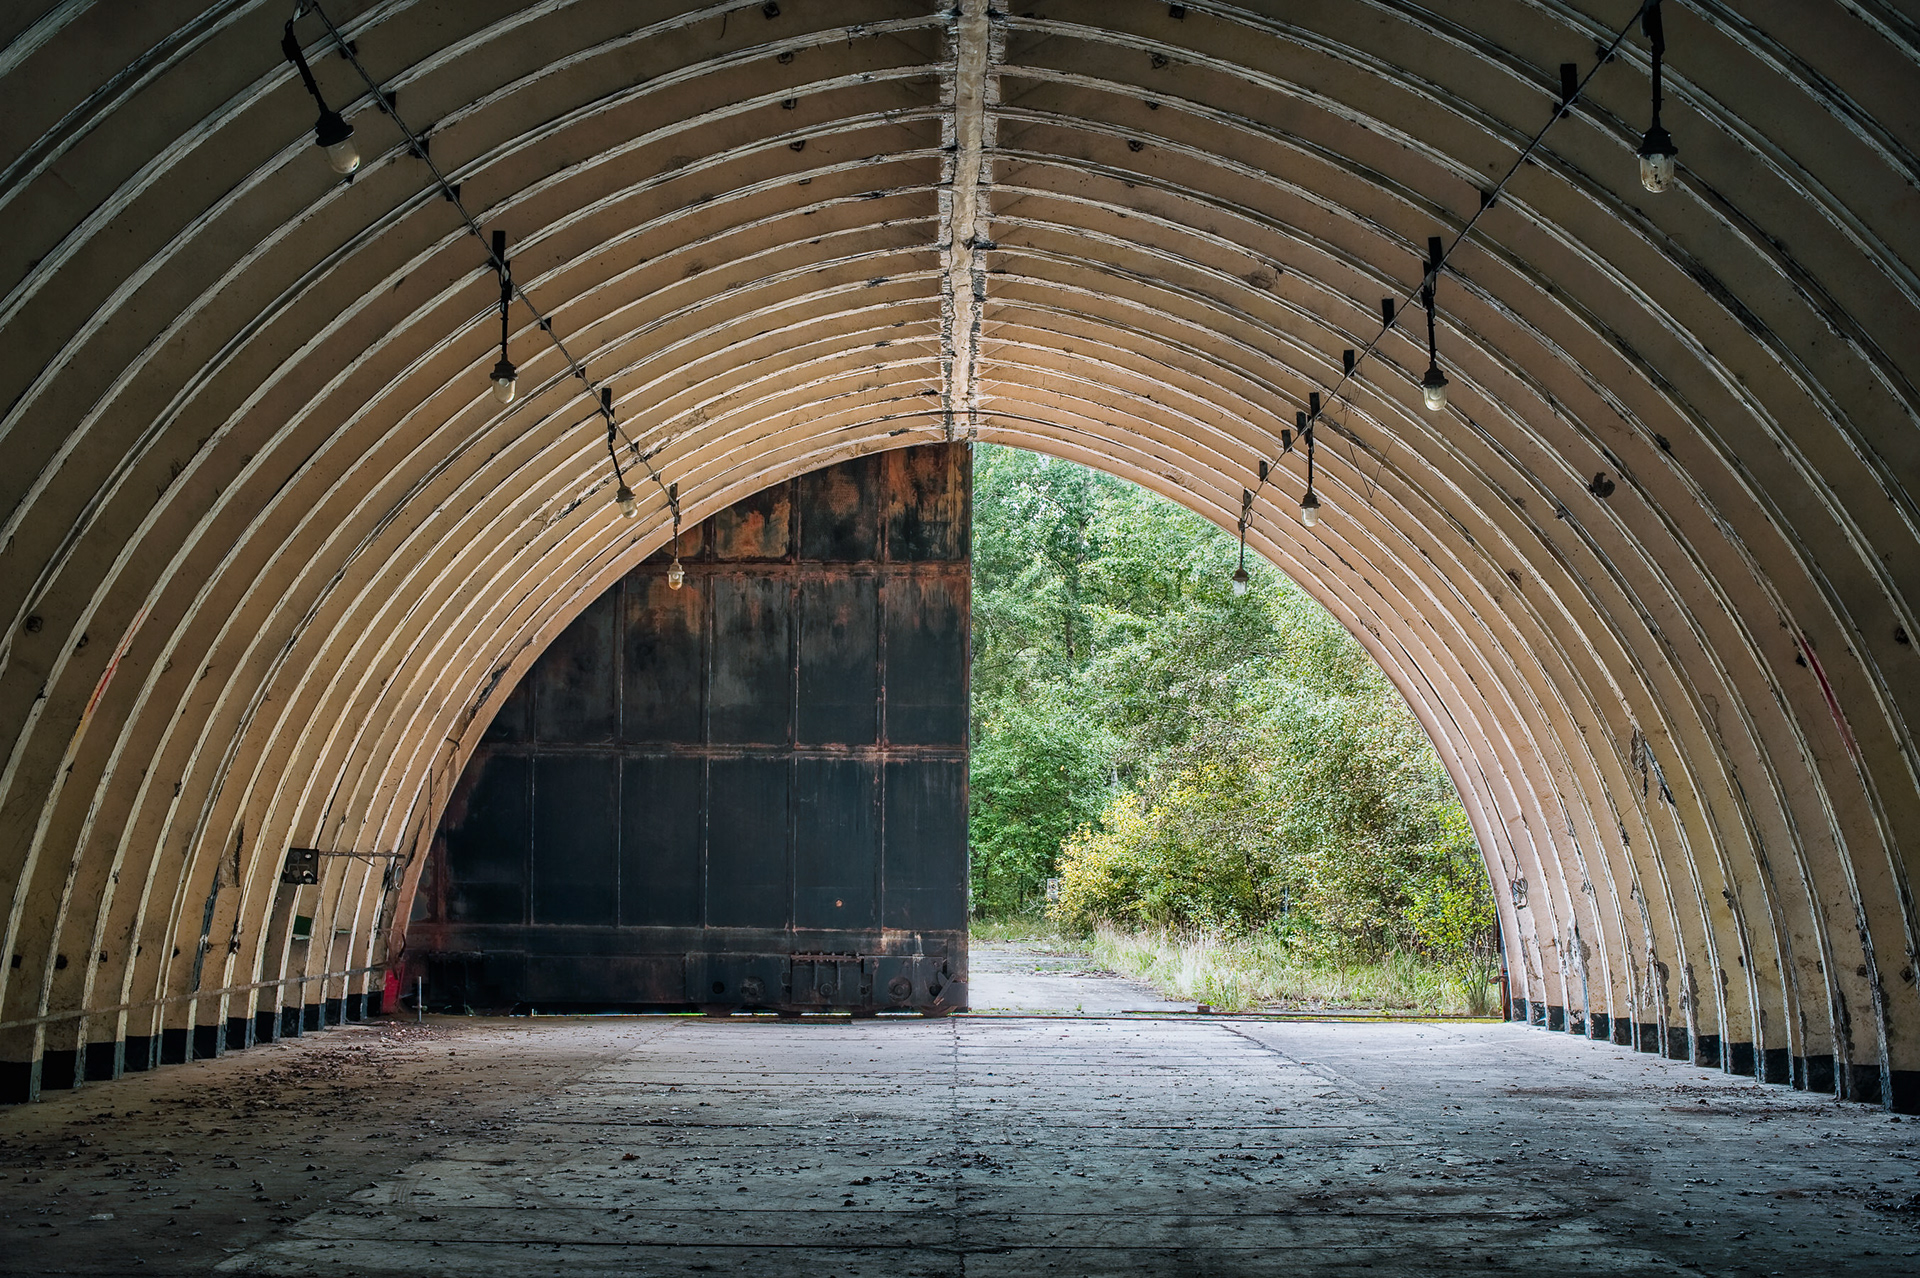
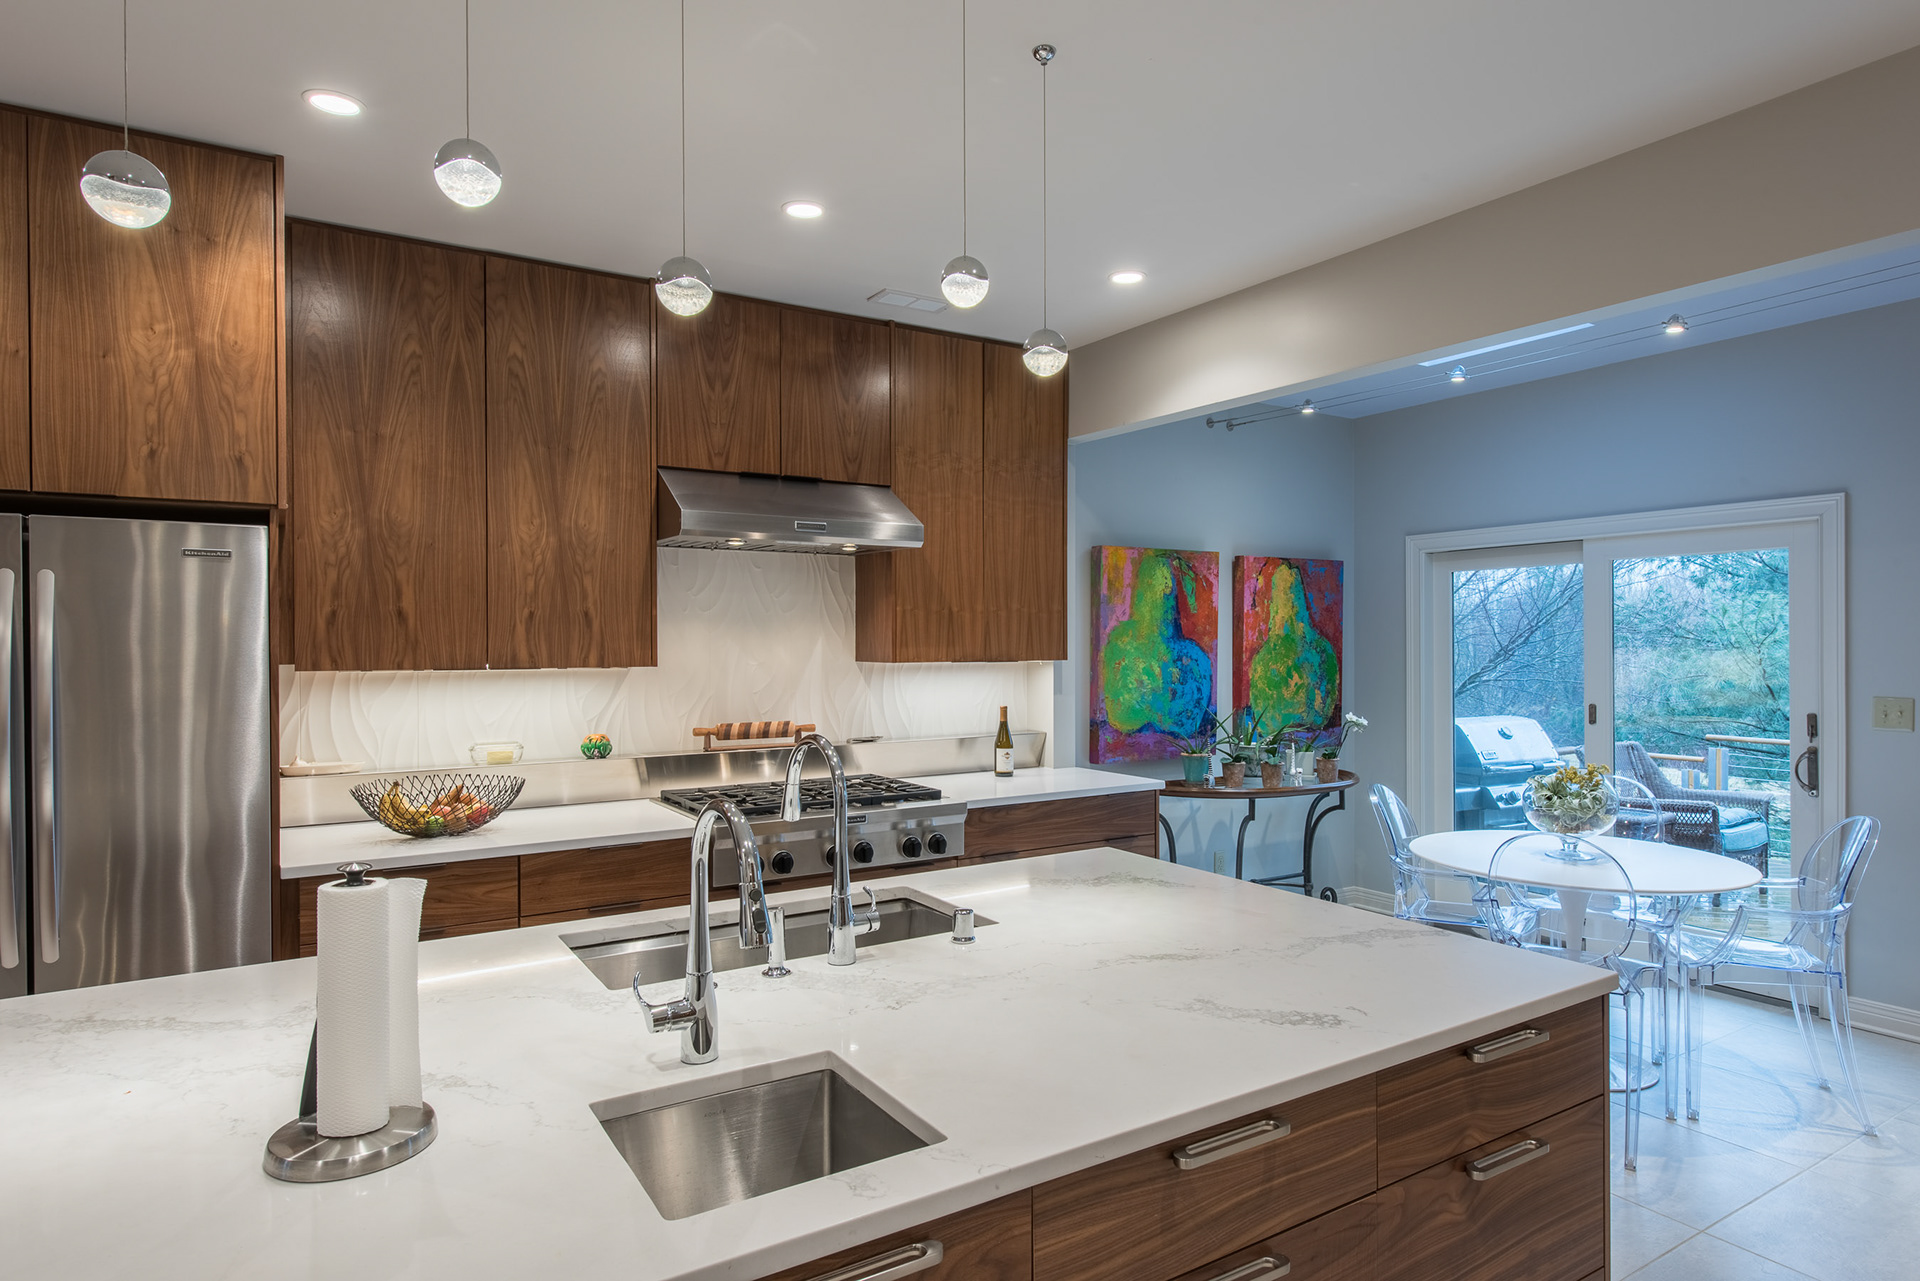
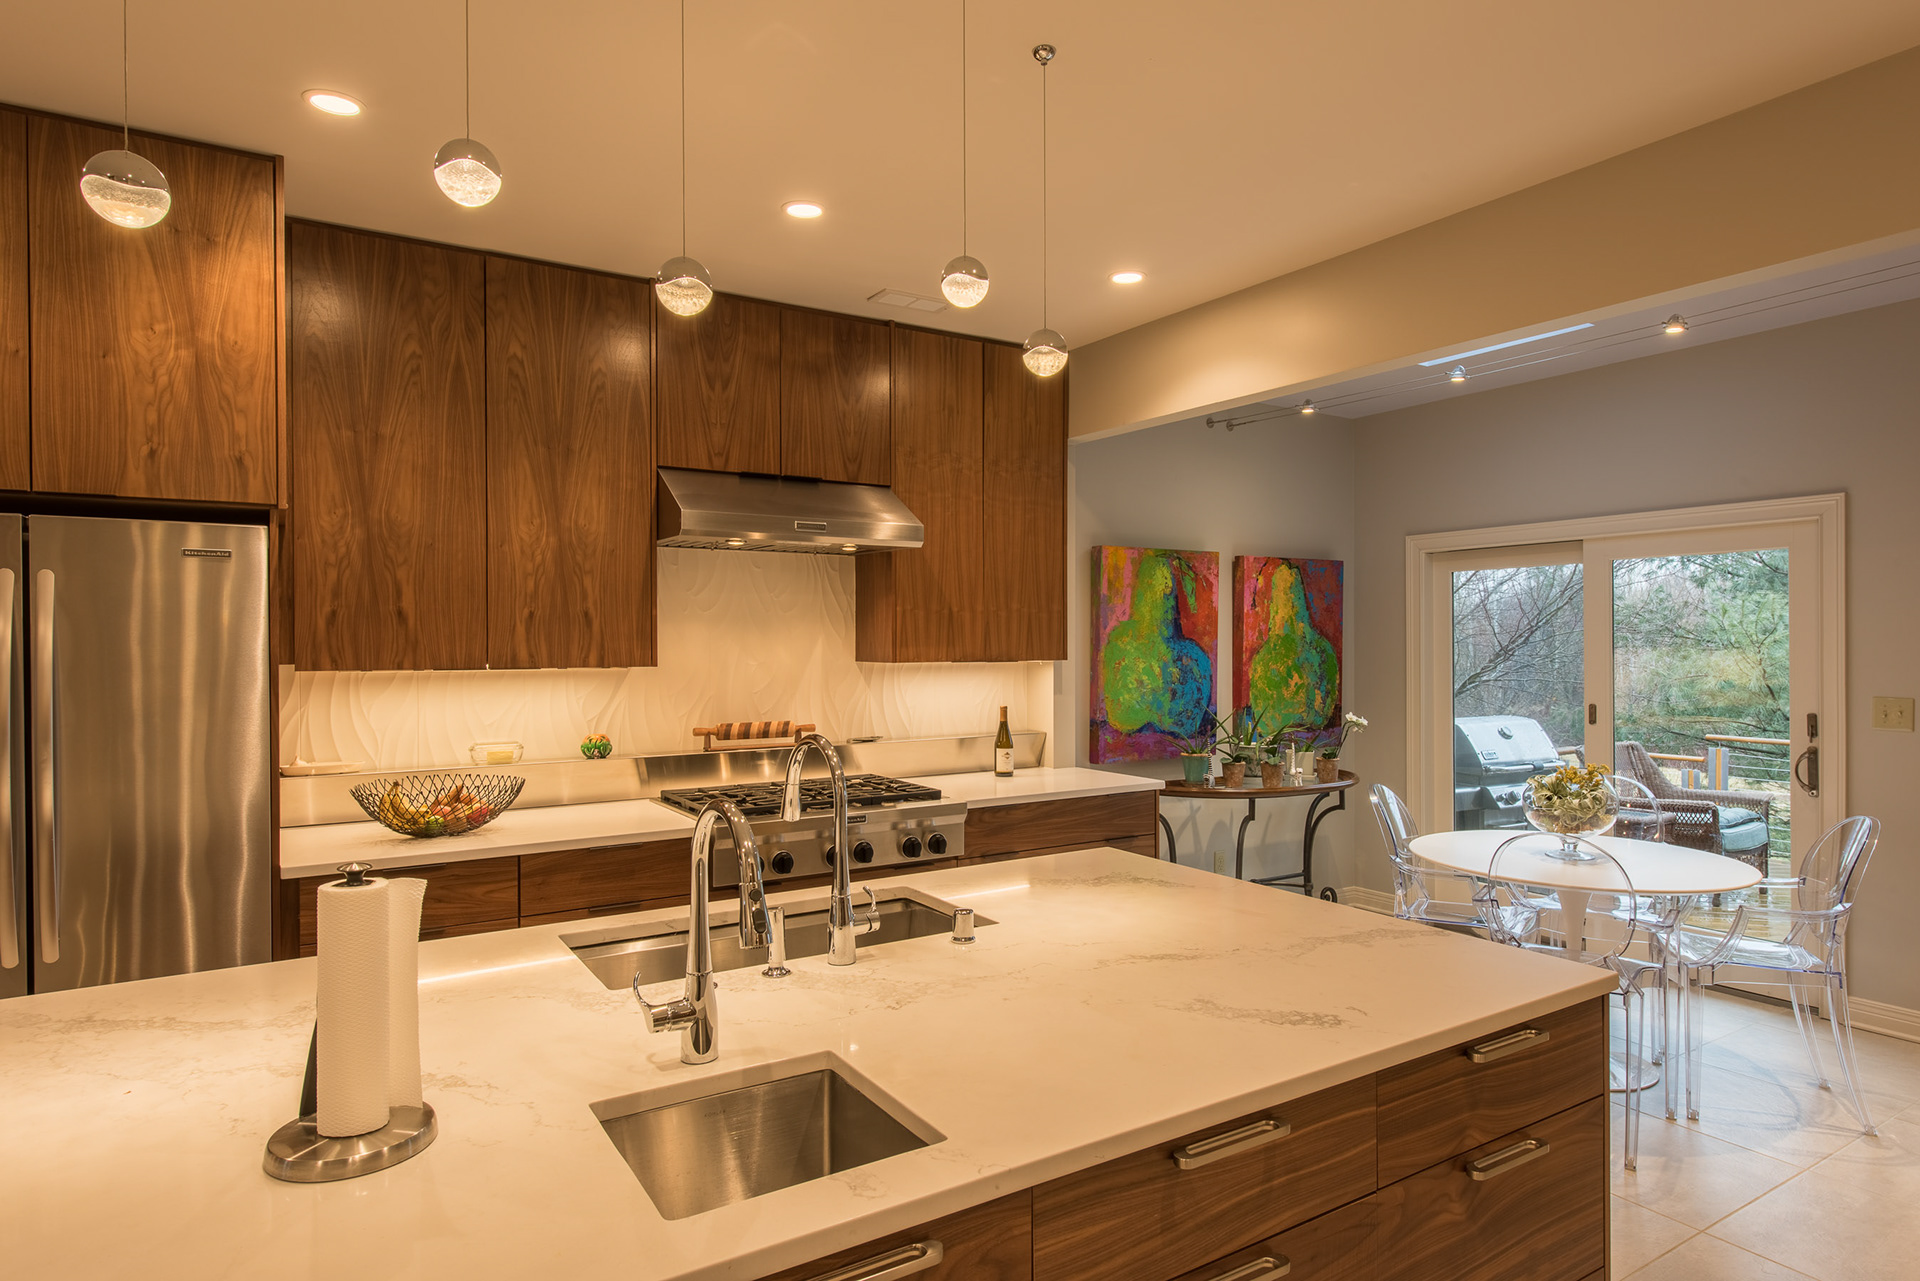
As you can see, the frame includes only a fraction of what the eye sees. The normal (50mm-equivalent) lens covers an angle of about 46 degrees, measured diagonally across the frame. The angle of view of the human eye is on the order of 210 degrees without moving the fixation point.
You might say: the claim about normal lenses was meant to be restricted to our sharp central vision. But that cannot be right either. The angle of foveal sharp vision is only 1.5–2 degrees. The angle of macular vision, where things are still somewhat sharp, is only about 17 degrees. What makes a lens normal must therefore be something else.
A normal lens, I submit, is simply one that follows the lead of the lens designed in the early 1920s by Max Berek for the first commercially available “miniature” camera, the Leica I. The camera was such a success that its lens set the standard for subsequent 35mm cameras and other formats as well. Berek’s choice of 50mm had, I suspect, nothing to do with musings about how the eye sees and everything to do with optical and mechanical design constraints. One motivation behind the development of the Leica was that it would be used for test exposures of 35mm motion picture stock. The usable area between the perforations of 35mm film is about 24mm wide. In a movie camera running the film vertically, this defines the width of the frame; the frame height at the time was 18mm. Oskar Barnak, the Leica's designer, decided to run the film horizontally, for a frame height of 24mm, and settled on 36mm as the width for a new 2:3 aspect ratio. The new format could record more detail than the movie frame, but it remained small by still photography standards and required a high-quality lens if it was to be enlarged to any reasonable print size. Motion picture lenses were of sufficient quality but covered only 18mm x 24mm, and still photography lenses with larger image circles were too unwieldy or didn’t have the required quality. A new lens design was needed. Beside covering the new negative format, the lens had to be usable in many different settings and therefore couldn't be too wide or too narrow; it had to be small enough to suit the camera; and it had to be fast enough for handheld shooting on film stock that was very slow by today’s standards. A focal length in the vicinity of the negative diagonal best met these constraints. To this day, lenses whose focal lengths are near the film or sensor diagonal offer the best combination of application range, speed, size, optical performance, and price.
In short, a “normal” lens is one that best meets a list of design constraints. It turns out that this lens also yields images that “work” perspectivally under quite natural and once very common viewing conditions. Let me explain.
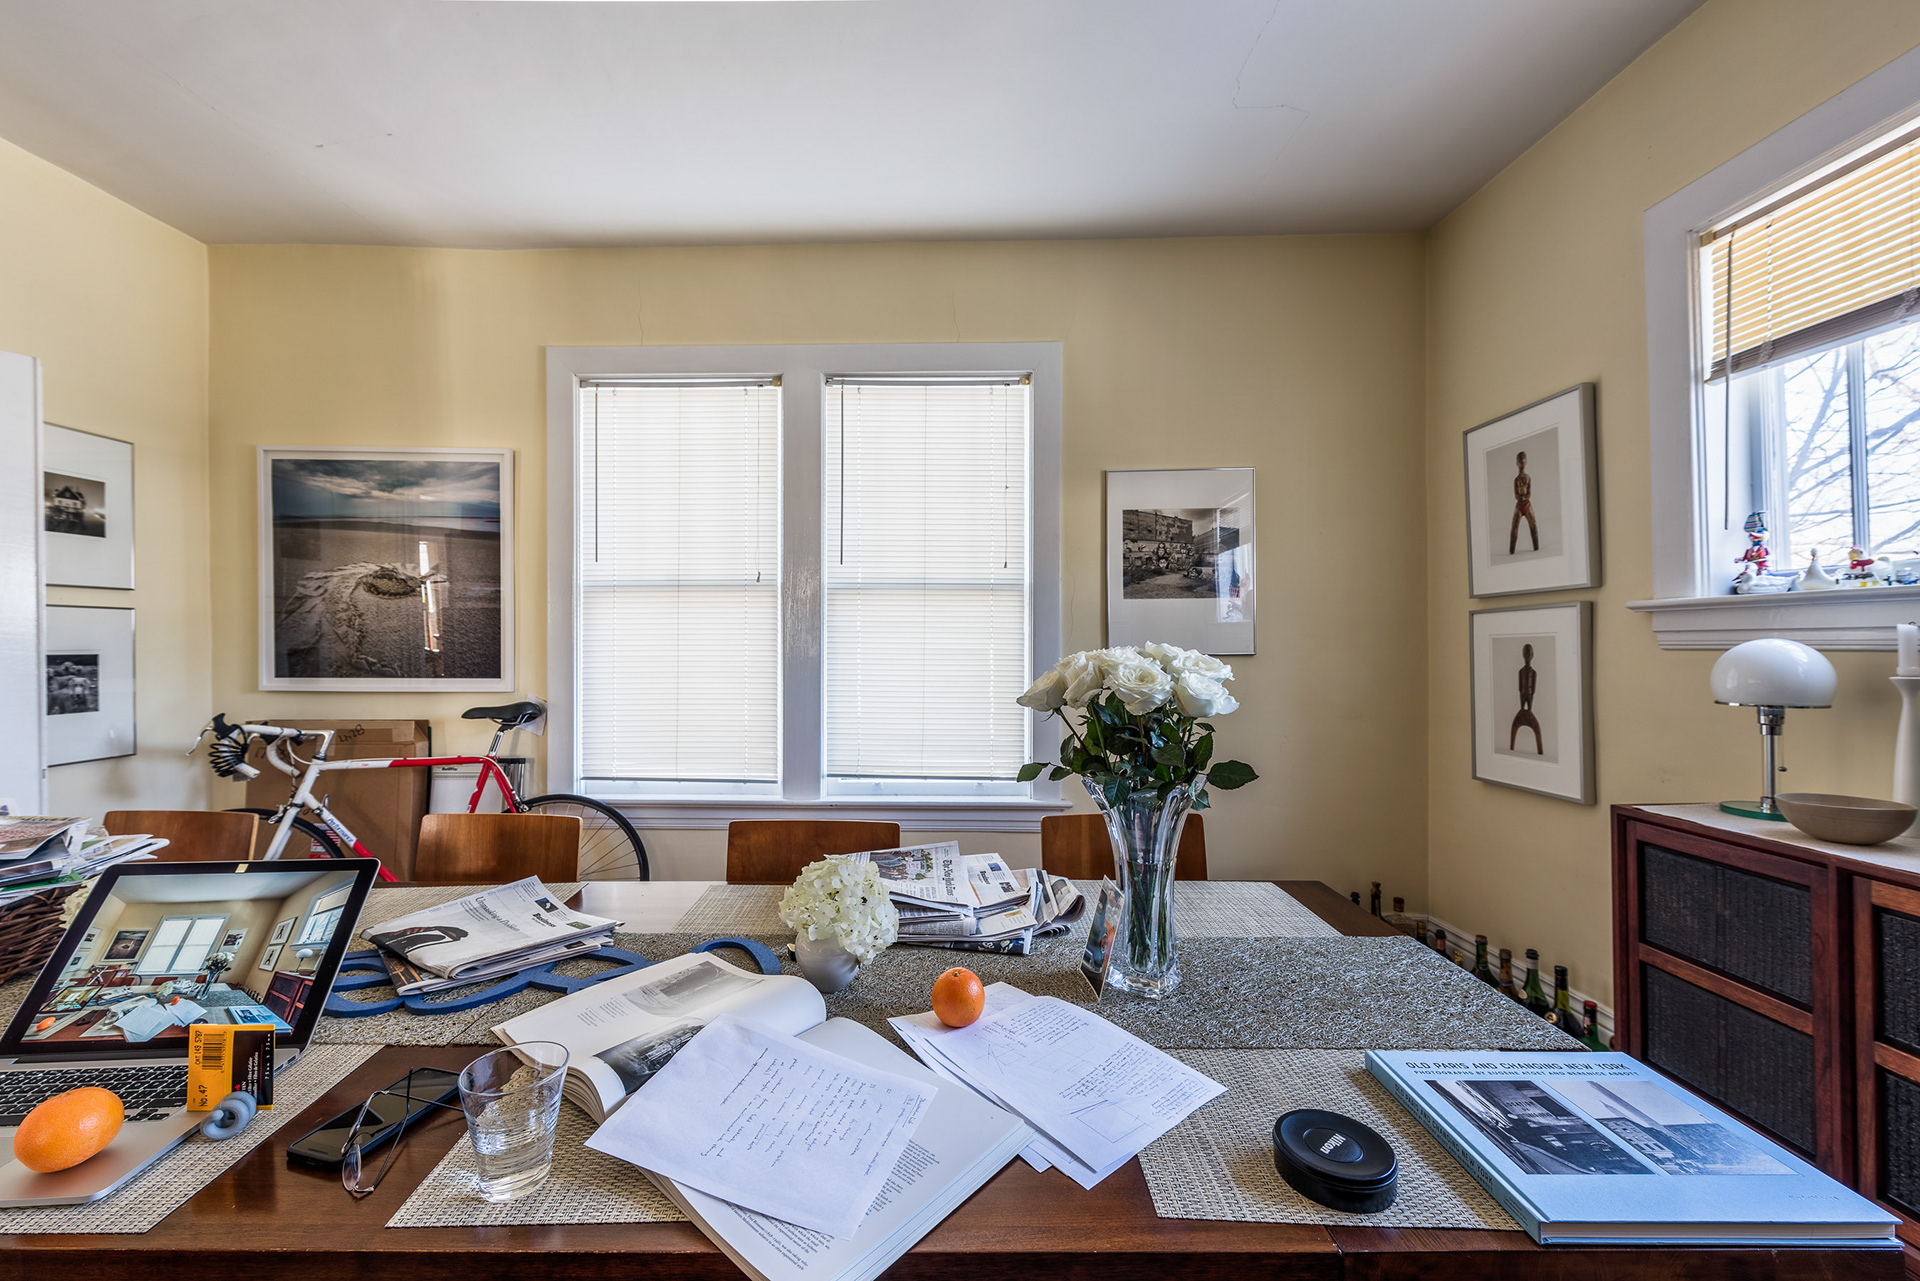
These days, nobody fusses over viewing conditions. Photos taken with very different lenses all get presented in a range of sizes and viewed from various distances—in an album, a book, a gallery, or on a smartphone—without any consideration for the focal lengths involved. Earlier, when darkroom prints were the preferred currency of photography, much photographic work was appreciated in the form of 8" x 10" prints held at reading distance. And for that condition, the normal lens turns out to be just right to produce photos that look spatially natural because they are viewed from the perspectivally correct distance.
8" x 10" used to be the most versatile photographic paper size; it is what darkroom students to this day are told to buy first. The size is convenient for contact printing and archiving many small negative formats. It yields the most gorgeous contact prints from 8" x 10" negatives which reigned for much of the 20th century in studio and landscape photography. It is considered by many to be the smallest size for a respectable but not ostentatious print and has been the default for work prints and portfolios (now gradually ceding this role to letter-size inkjet paper). The press standardized its operations for 8" x 10", as did most organizations that needed to archive prints (for example the Farm Security Administration which commissioned one of the most significant photo documentary projects of the last century).
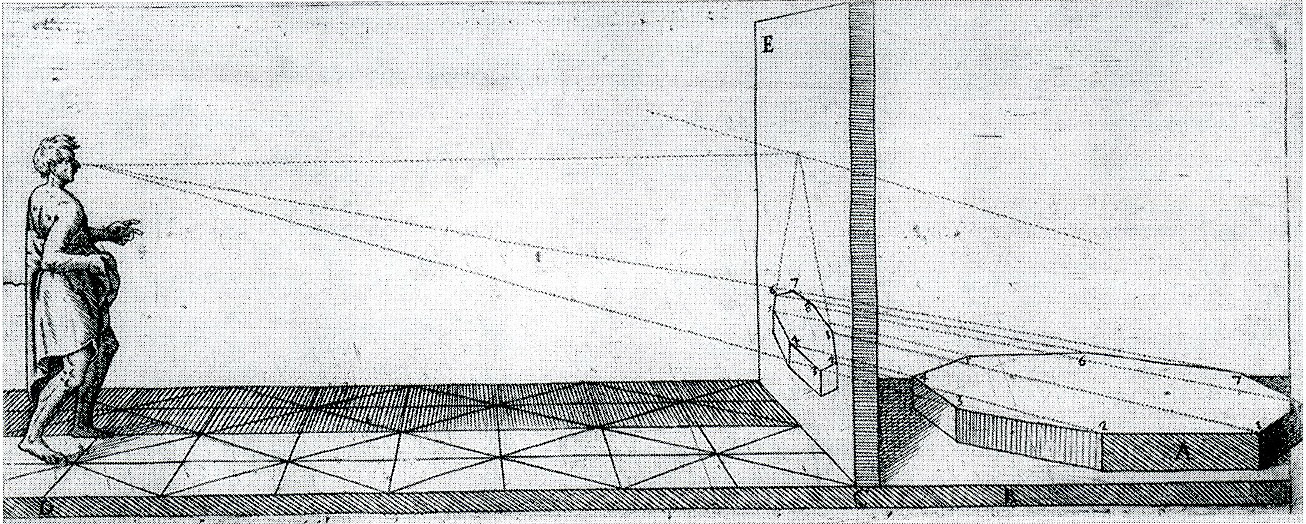
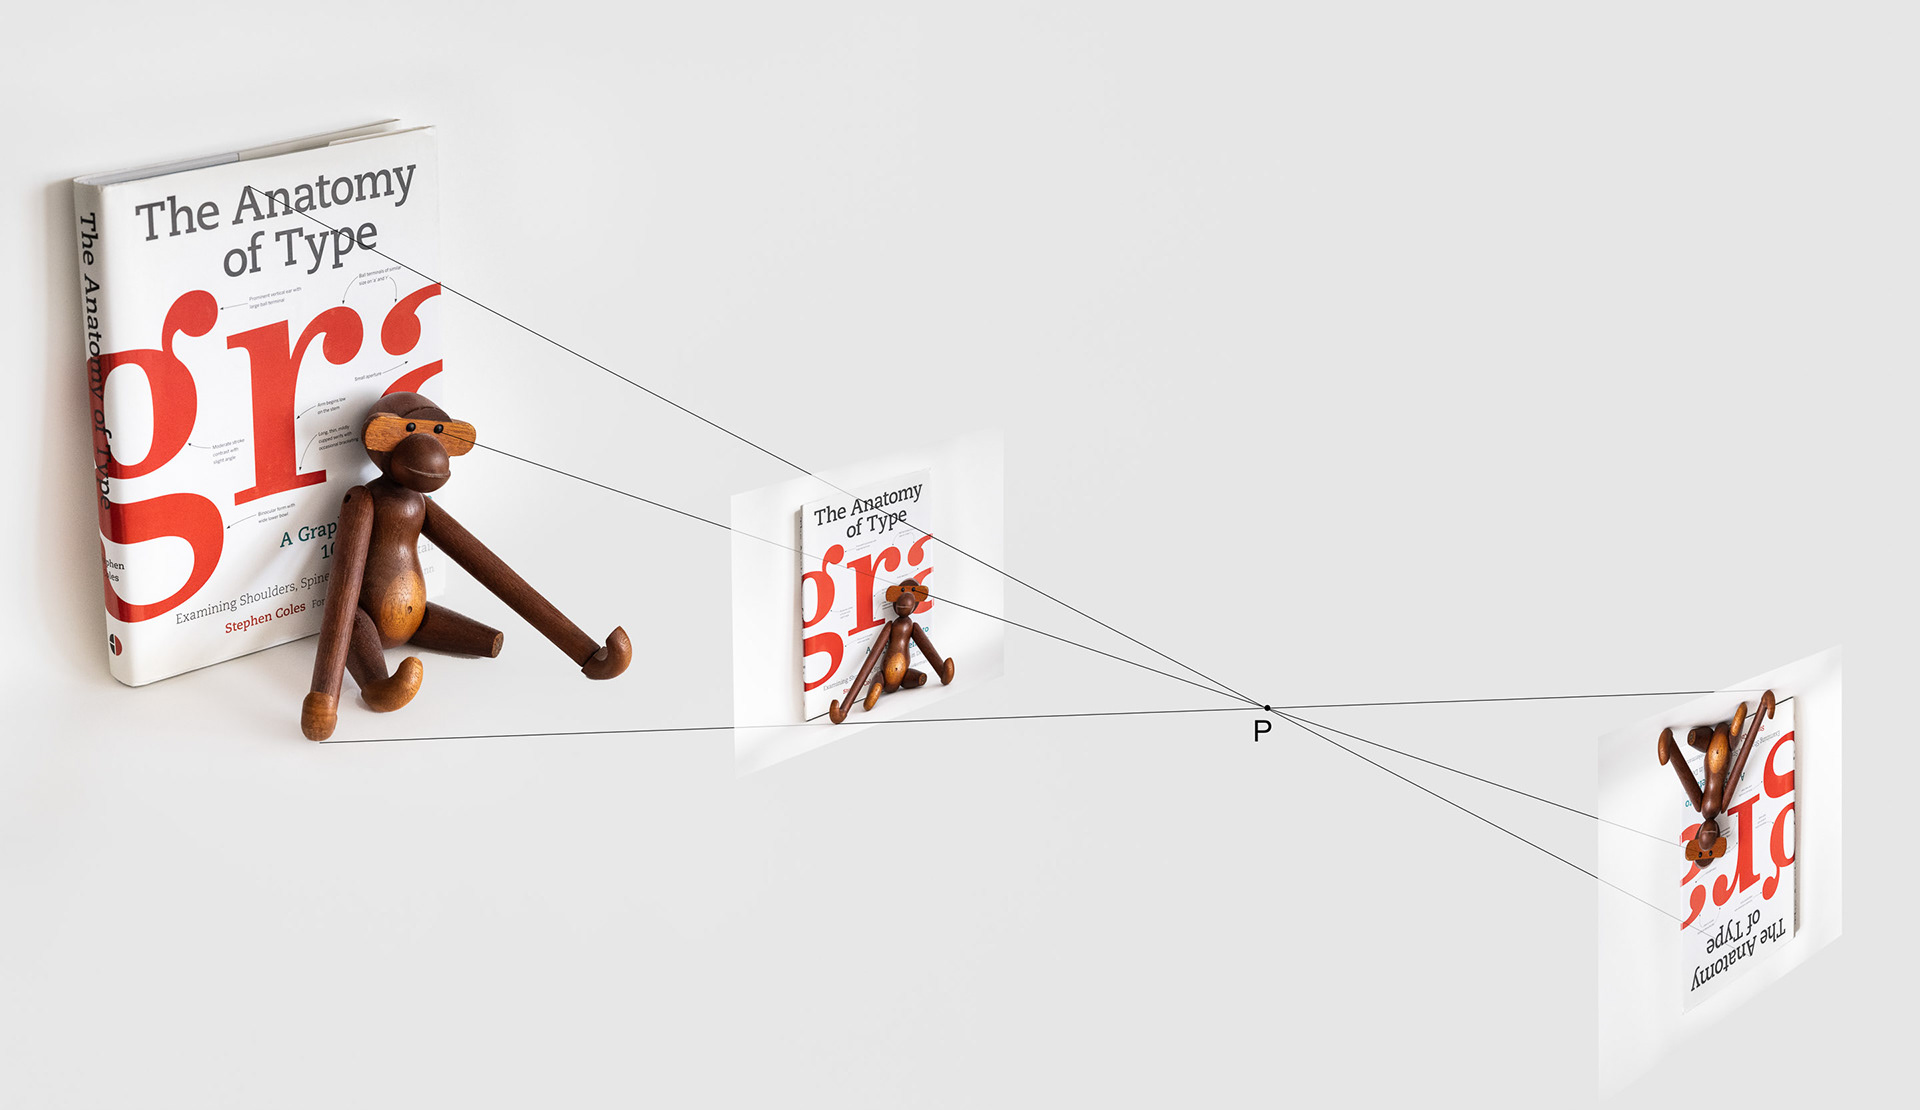
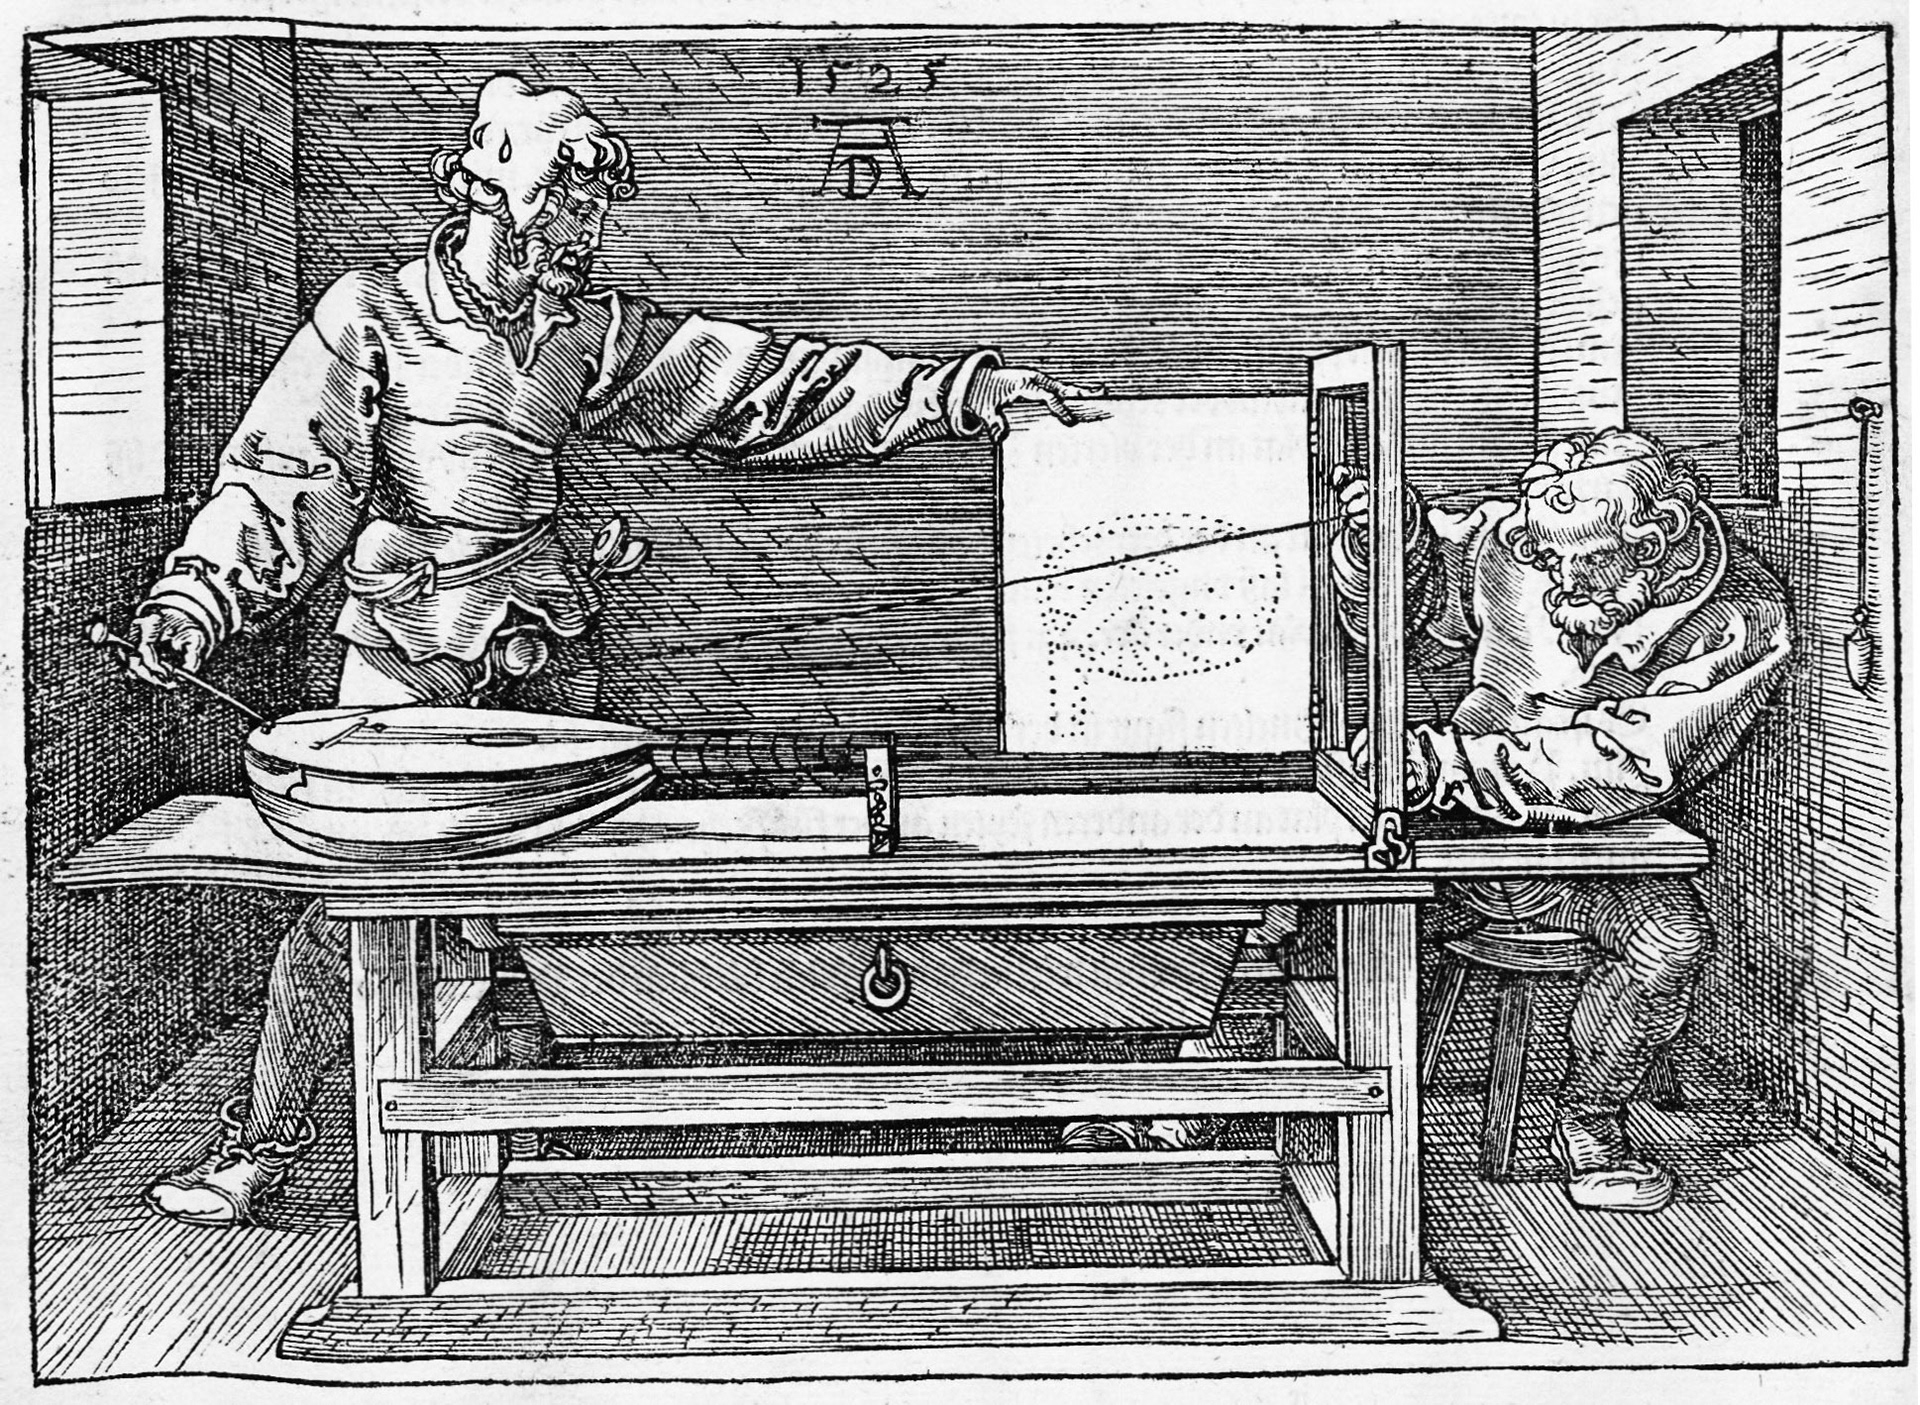
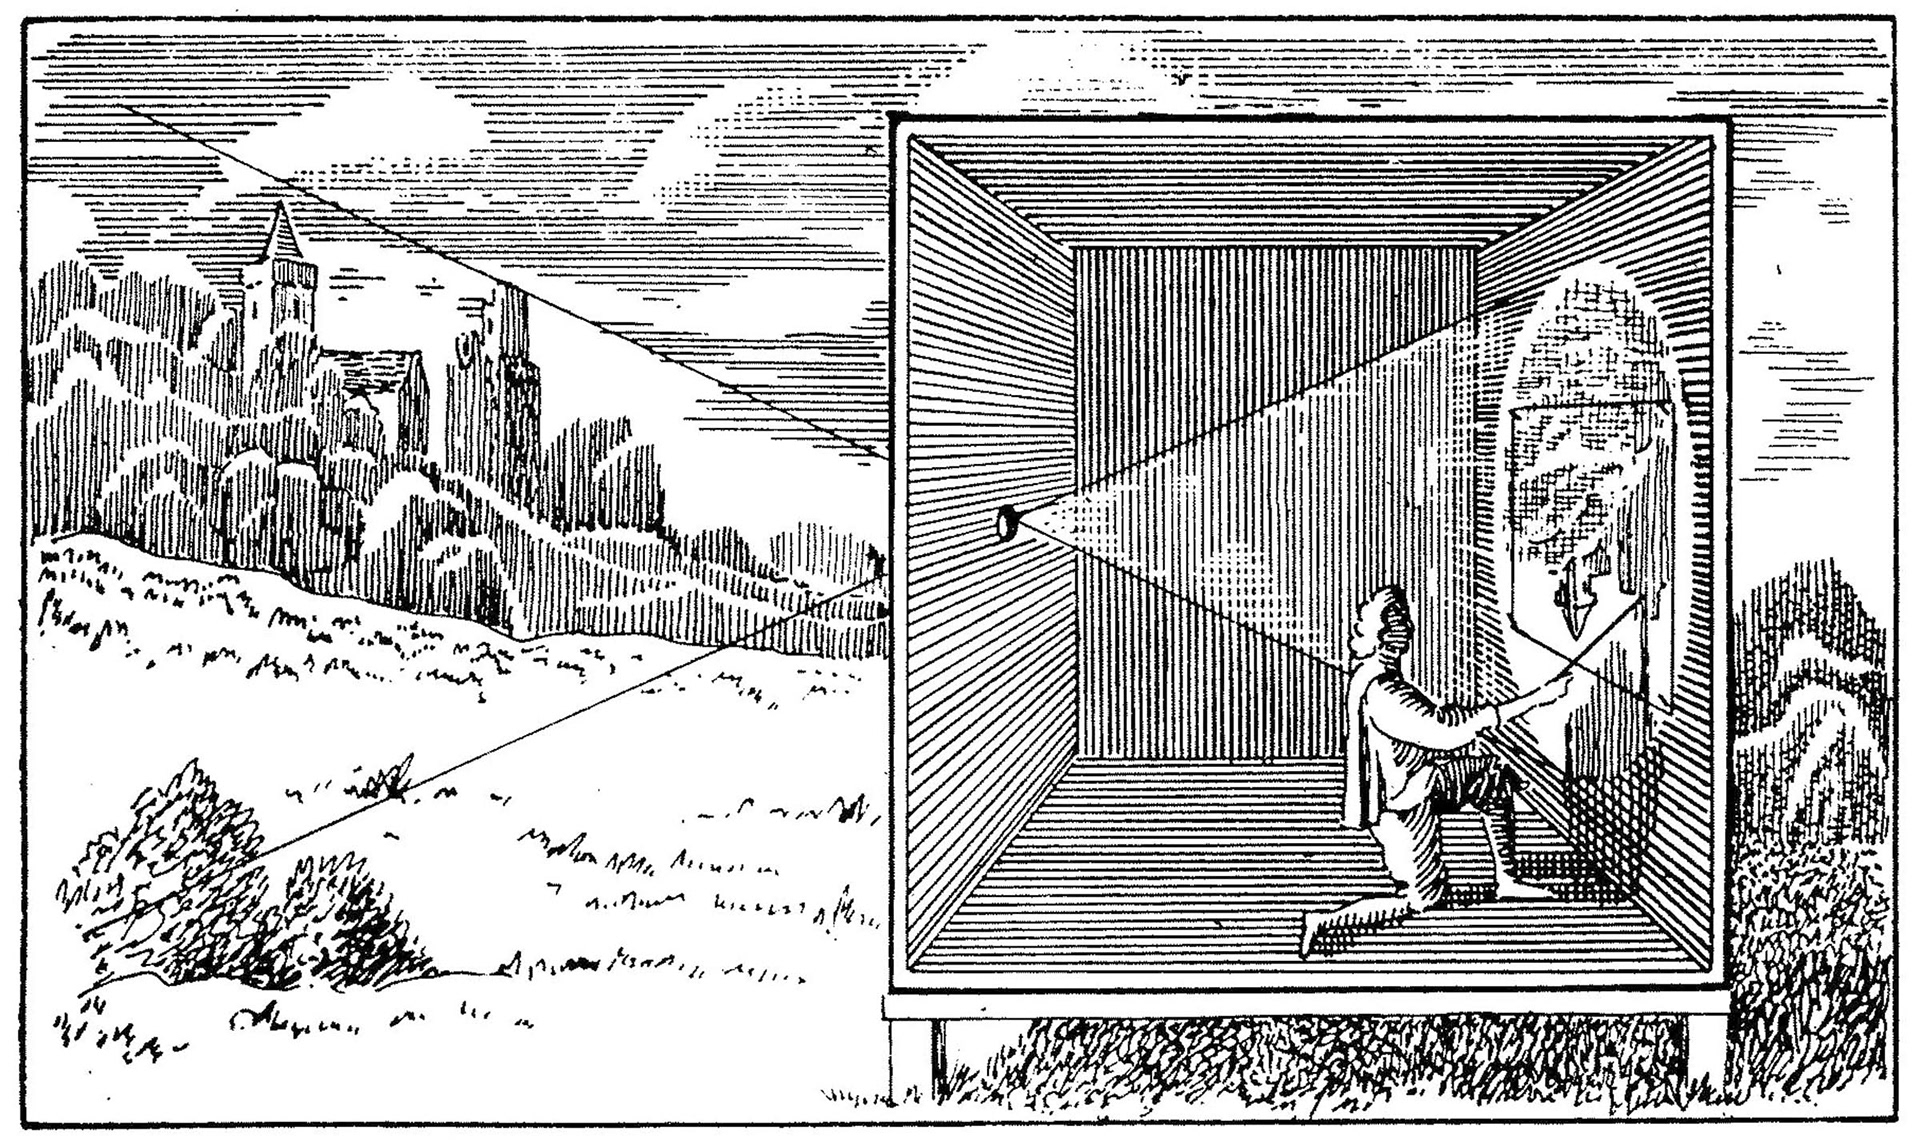
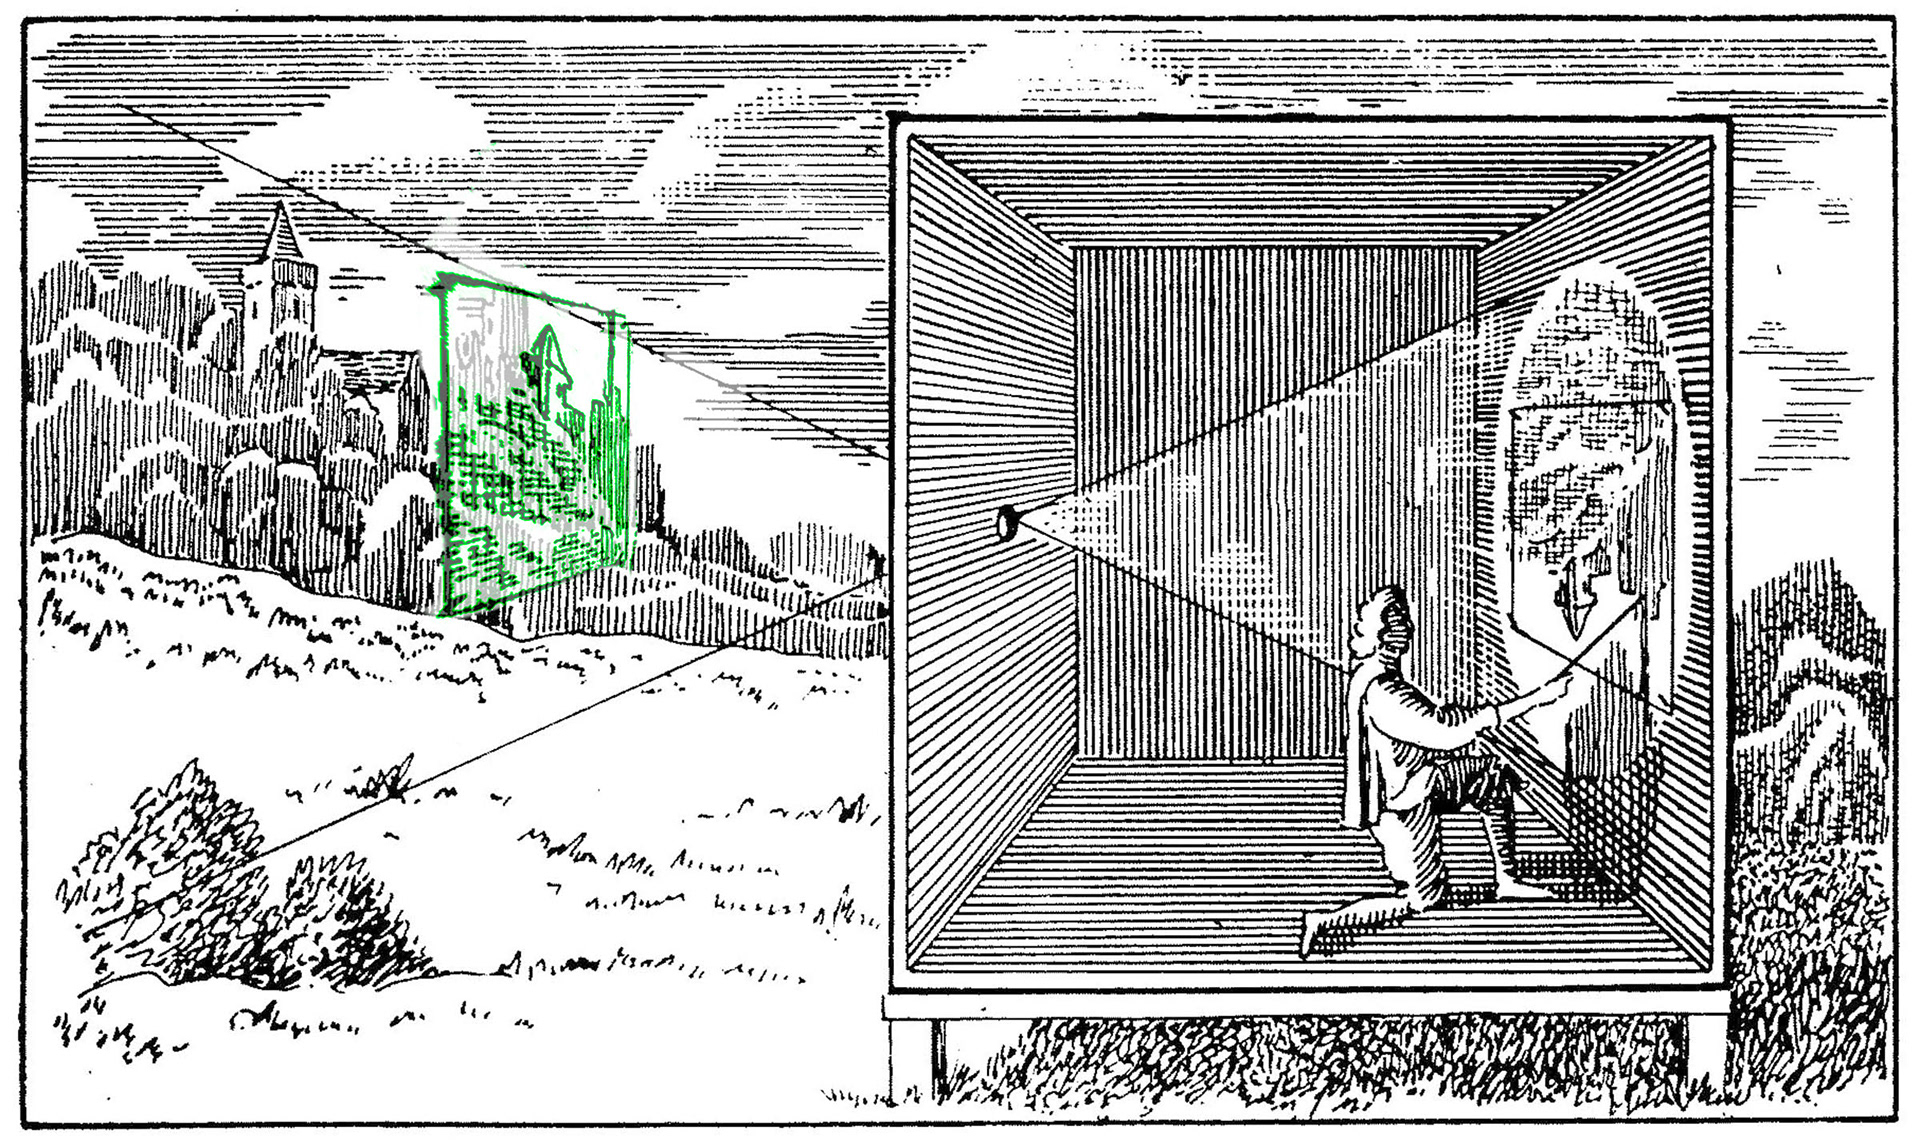
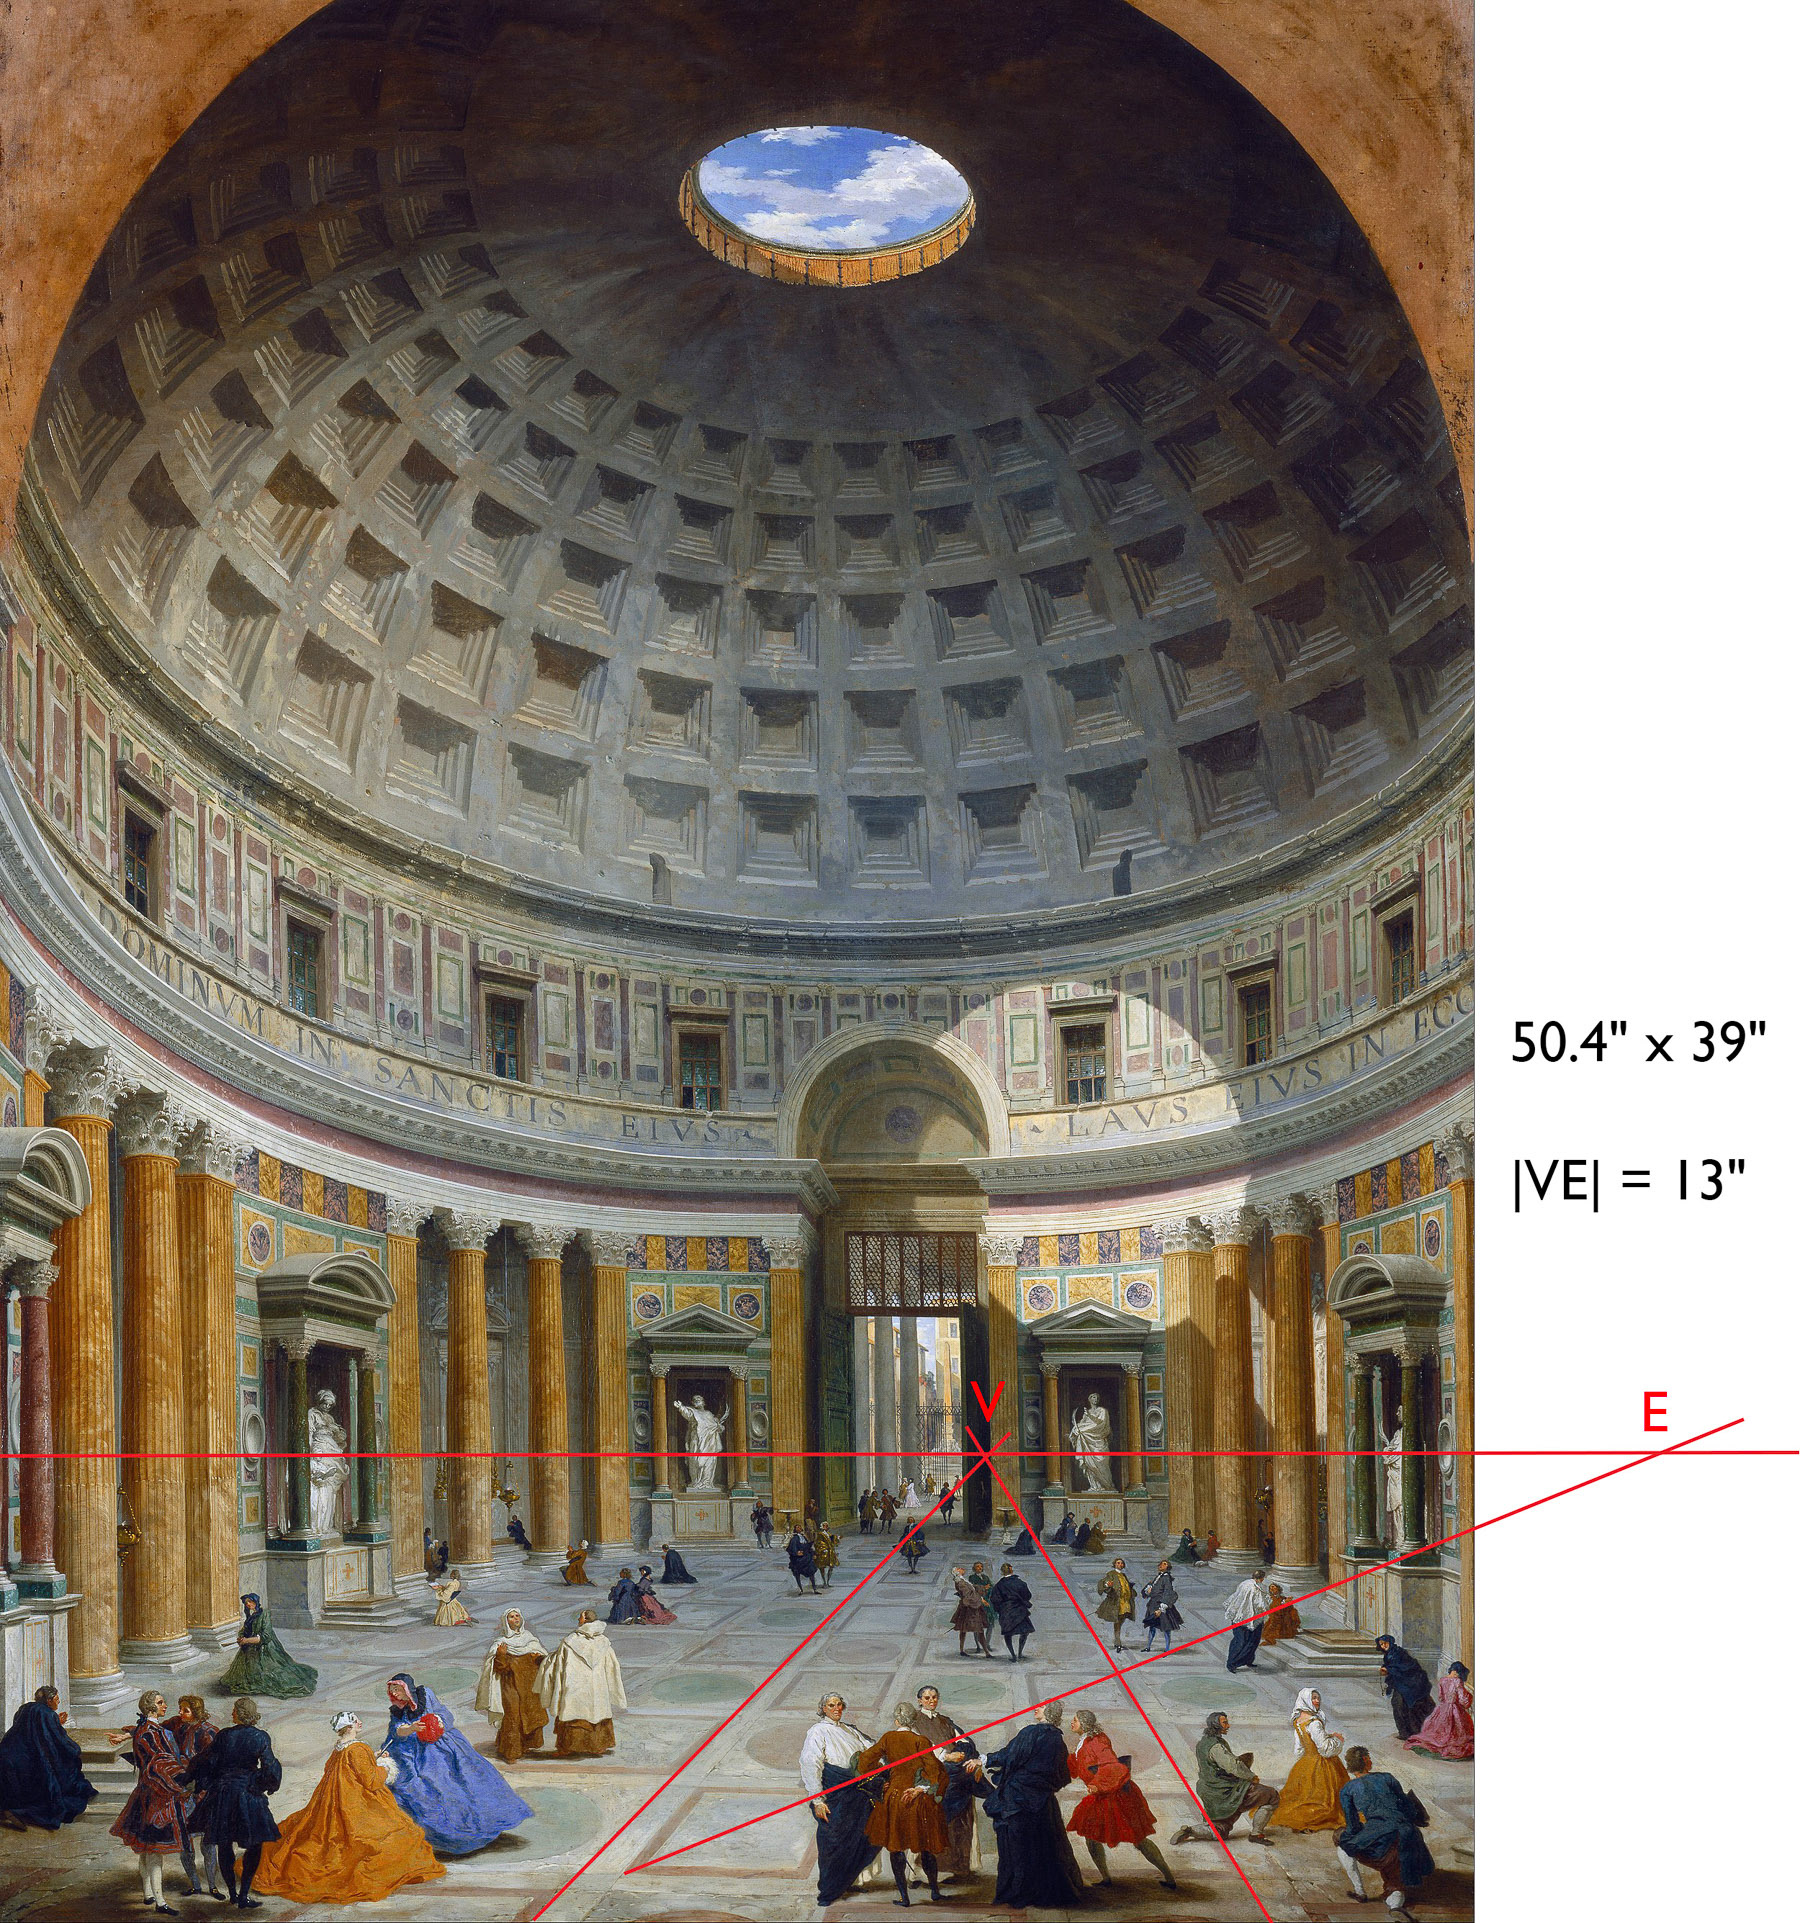
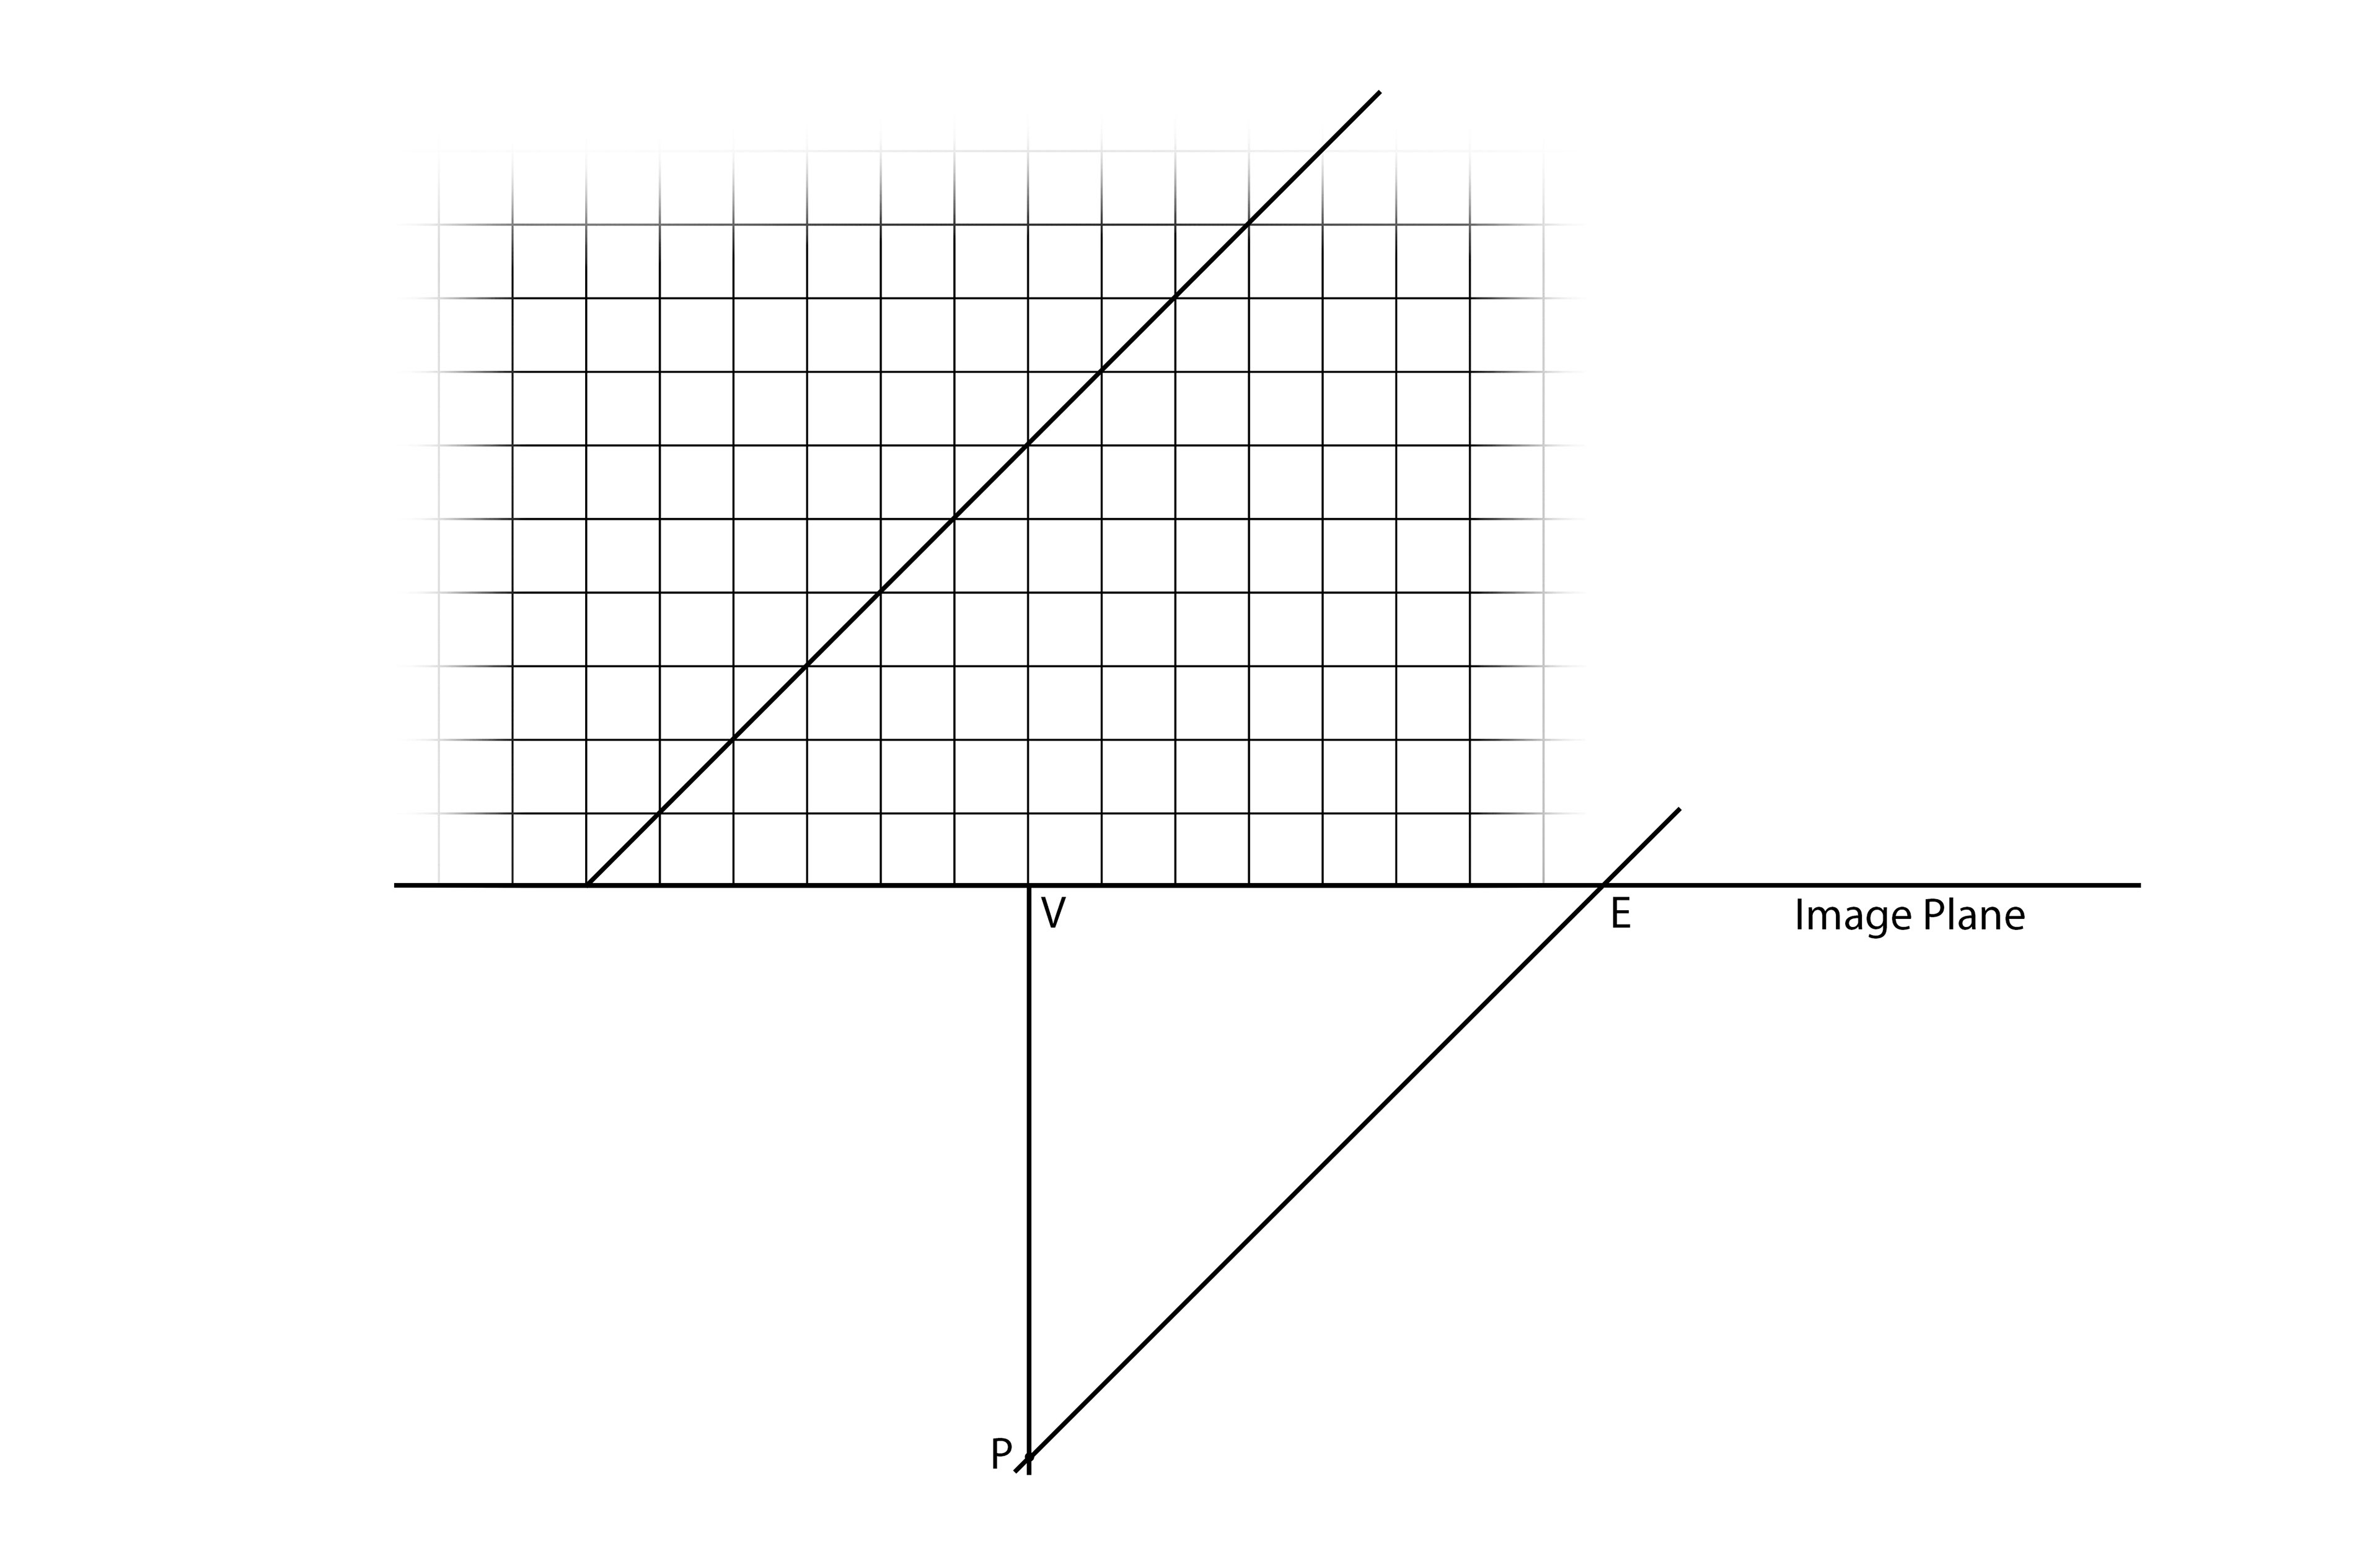
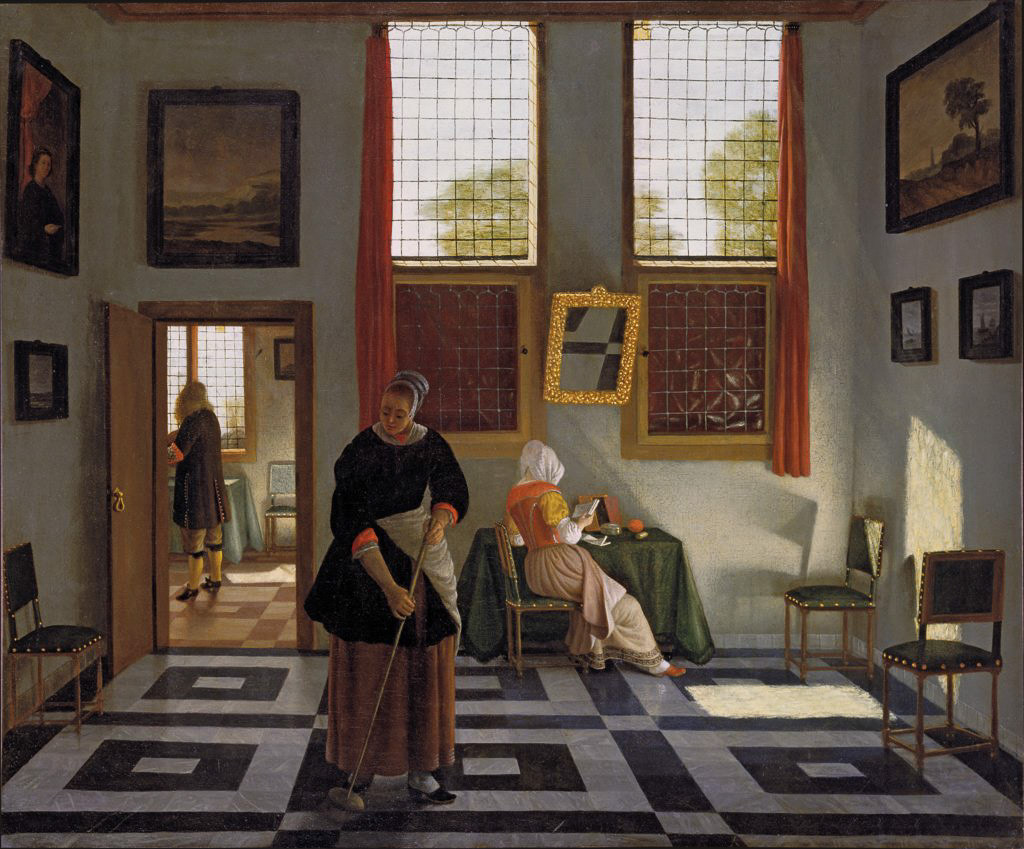
When you hold an 8" x 10" print at comfortable reading distance, which for most people is in the 14"–16" range, the distance between eye and print slightly exceeds the print diagonal, which is 13". Likewise, the focal length of a normal lens slightly exceeds the film diagonal. Therefore the geometric relationship between eye and print is about the same as that between normal lens and film (or sensor), so that the print works like Alberti's window—as long as it shows the entire image without much cropping or empty space. If we let the reading distance fall in the middle of the range, at 15”, then it exceeds the 8" x 10" print diagonal by a factor of 15/13. A perfectly normal lens should thus have a focal length of 15/13 of its format diagonal. The diagonal of 4" x 5" film, whose aspect ratio matches 8" x 10" paper, is 163mm. The corresponding normal lens would be 188mm (= 163mm x 15/13). The 180mm lens widely considered normal for 4" x 5" film comes close. The 35mm negative with its 2:3 aspect ratio yields an image diagonal of about 12" on 8" x 10" paper. So its normal lens should have a focal length of 15/12 x 43mm = 53.75mm, again close to the customary 50mm. Some fabulous normal lenses by Zeiss are even closer at 55mm focal length.
To recap: if you hold an 8" x 10" print created with a normal lens at reading distance, then everything will look spatially natural. The print is a perspectivally sound representation because it works just like Alberti’s window. This accord of perspective and lens optimization will surely please Alberti's ghost.
Wide-angle lenses
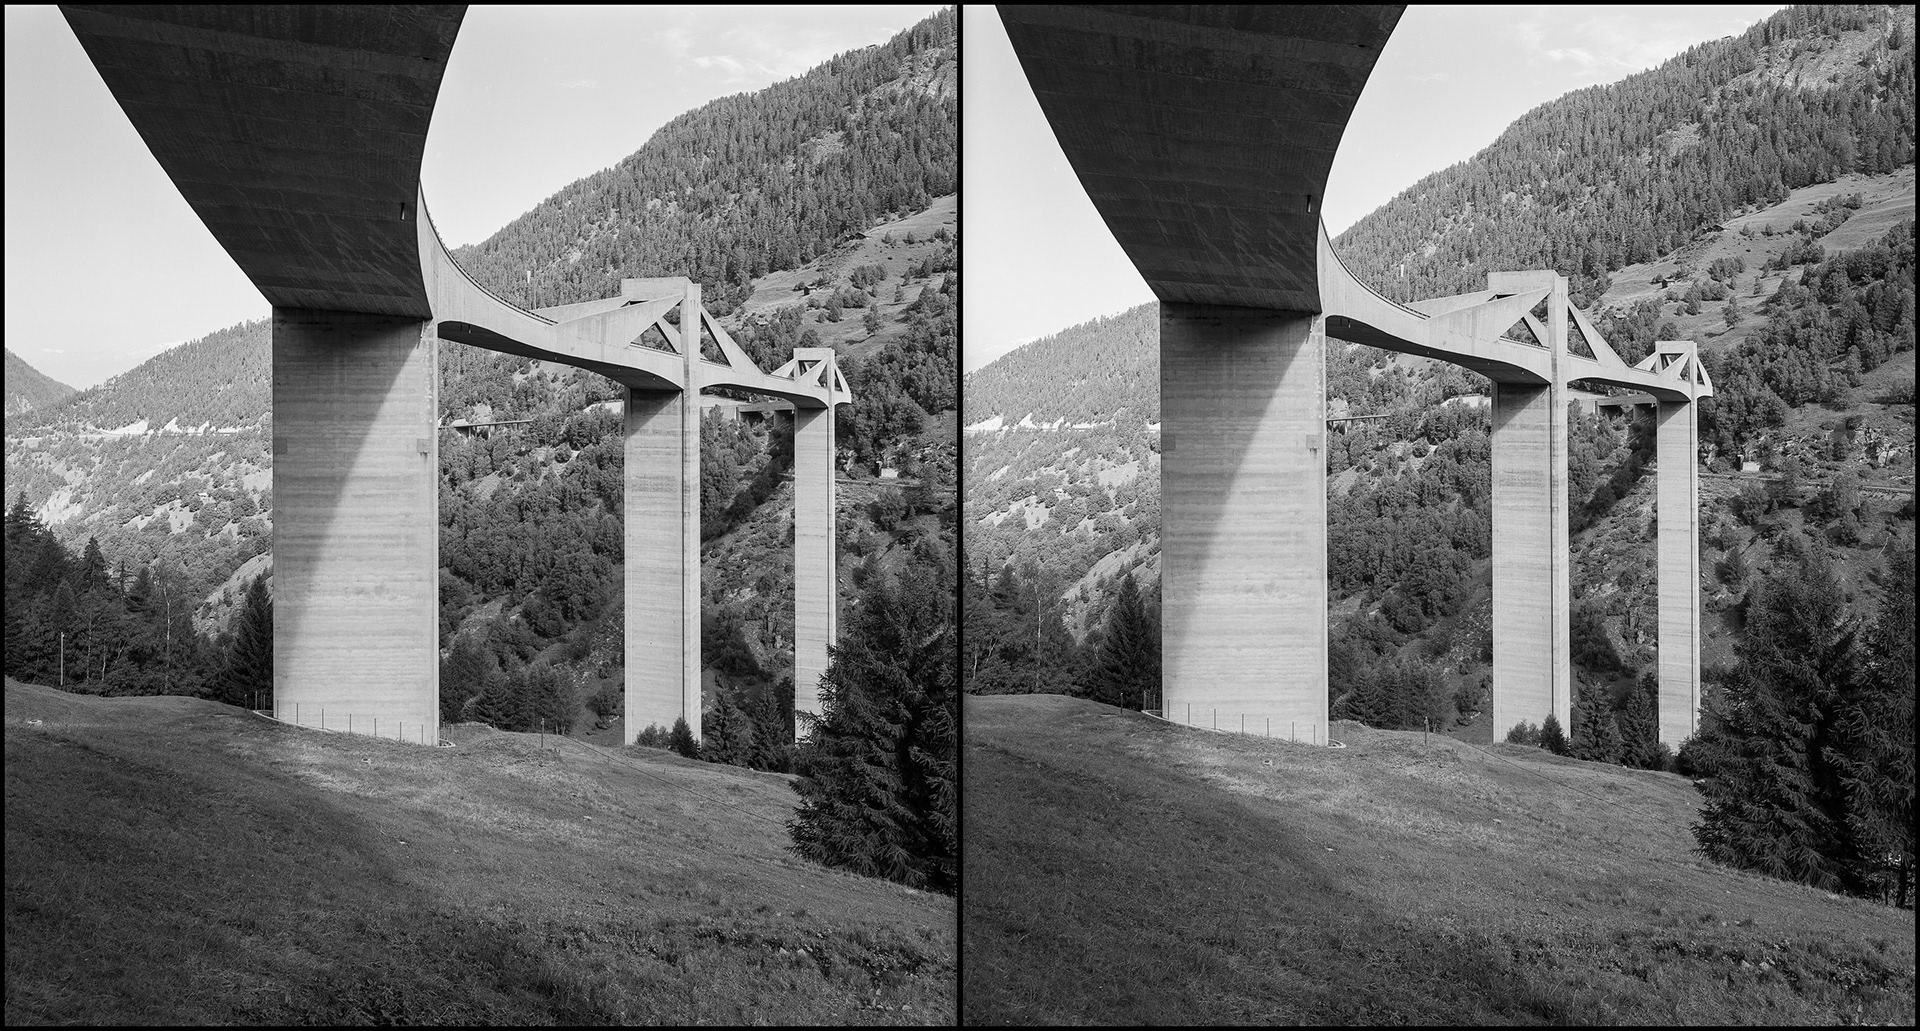
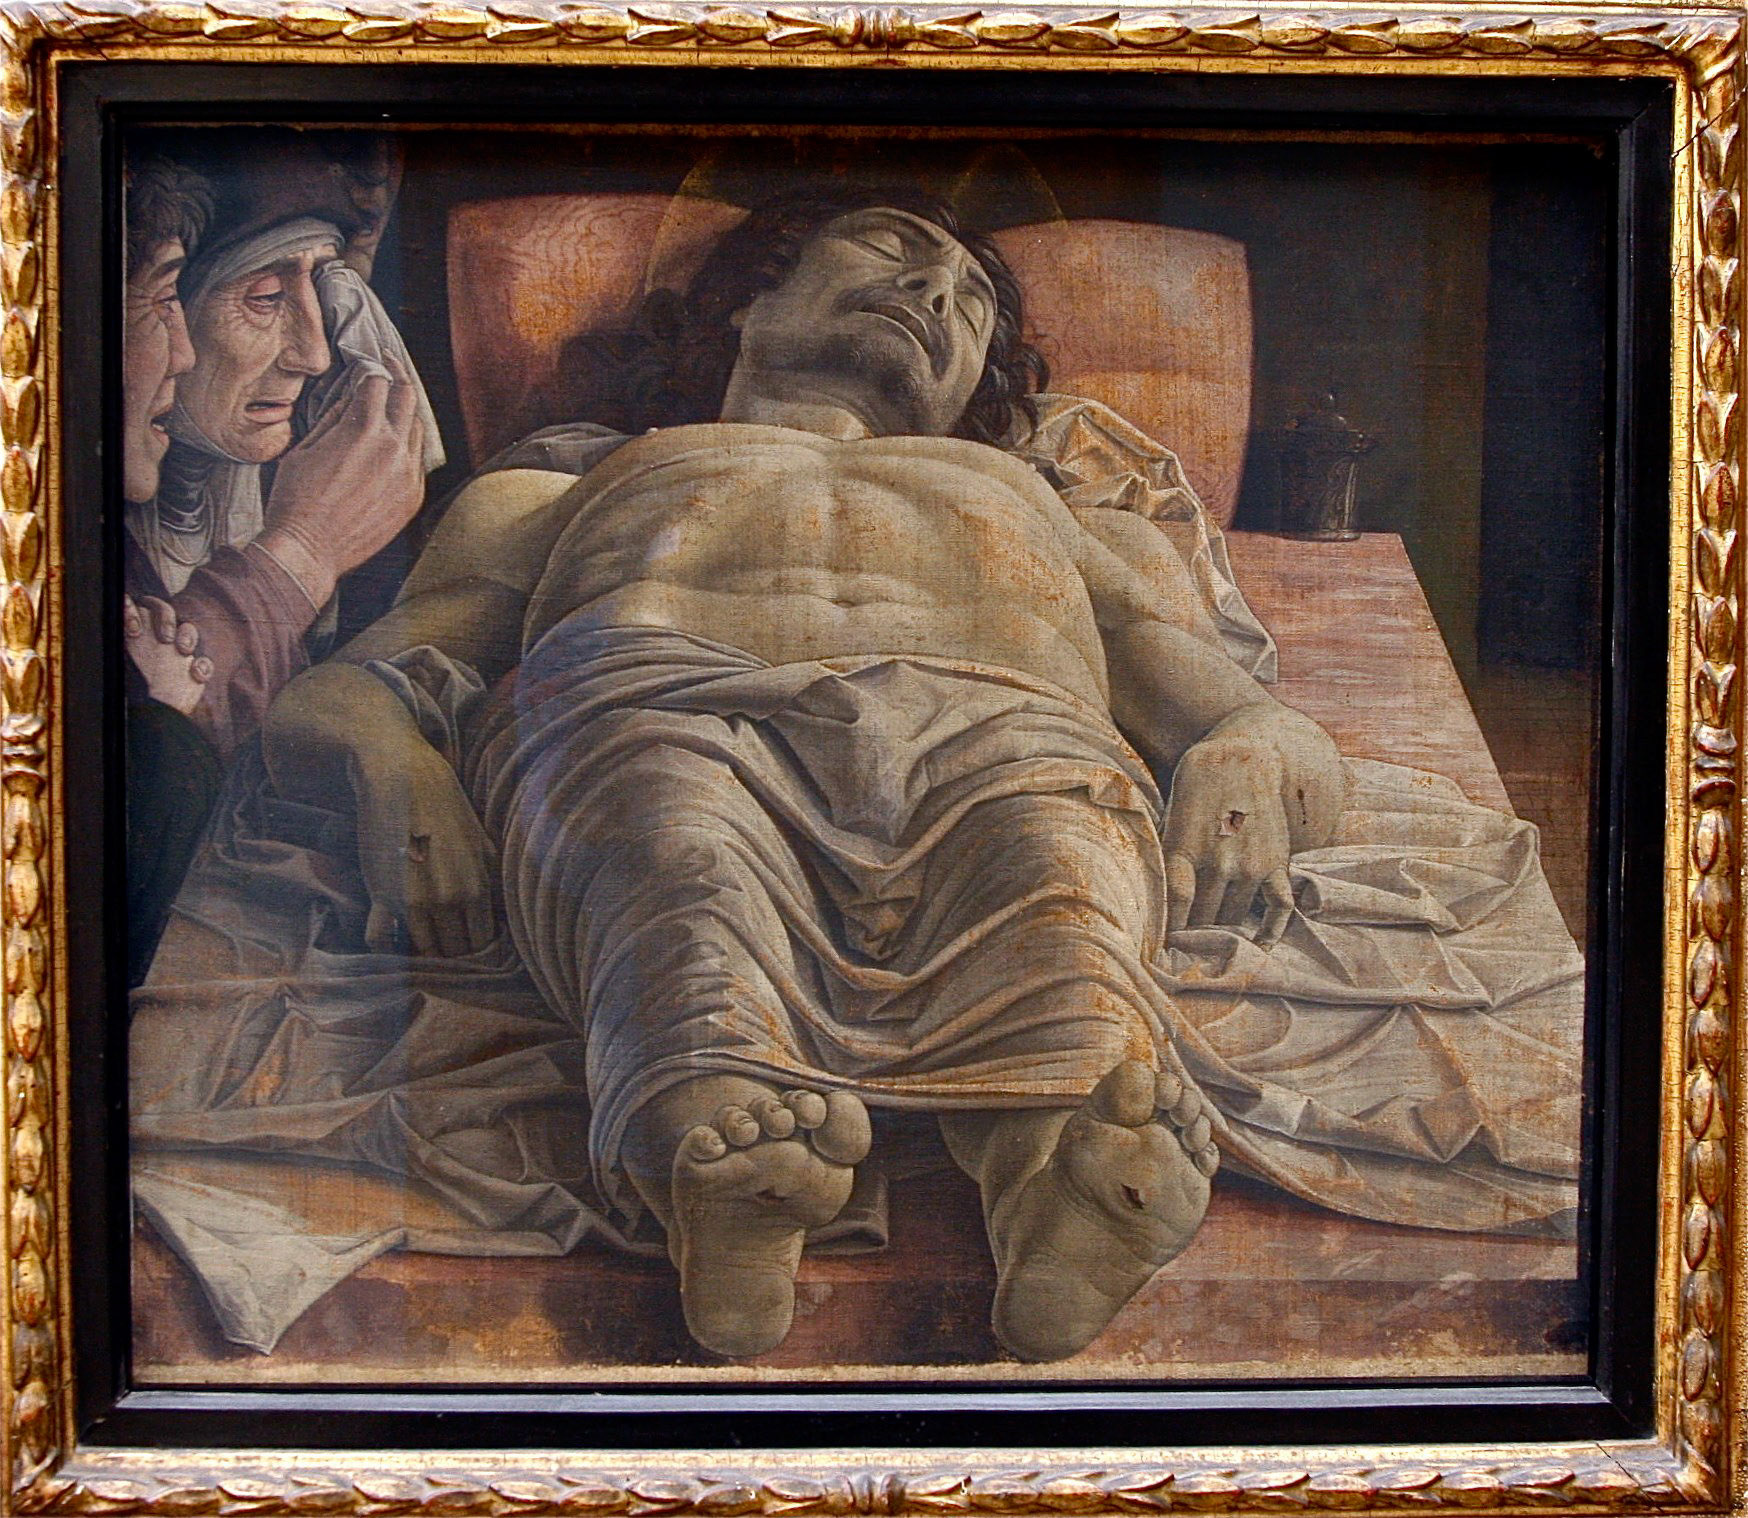
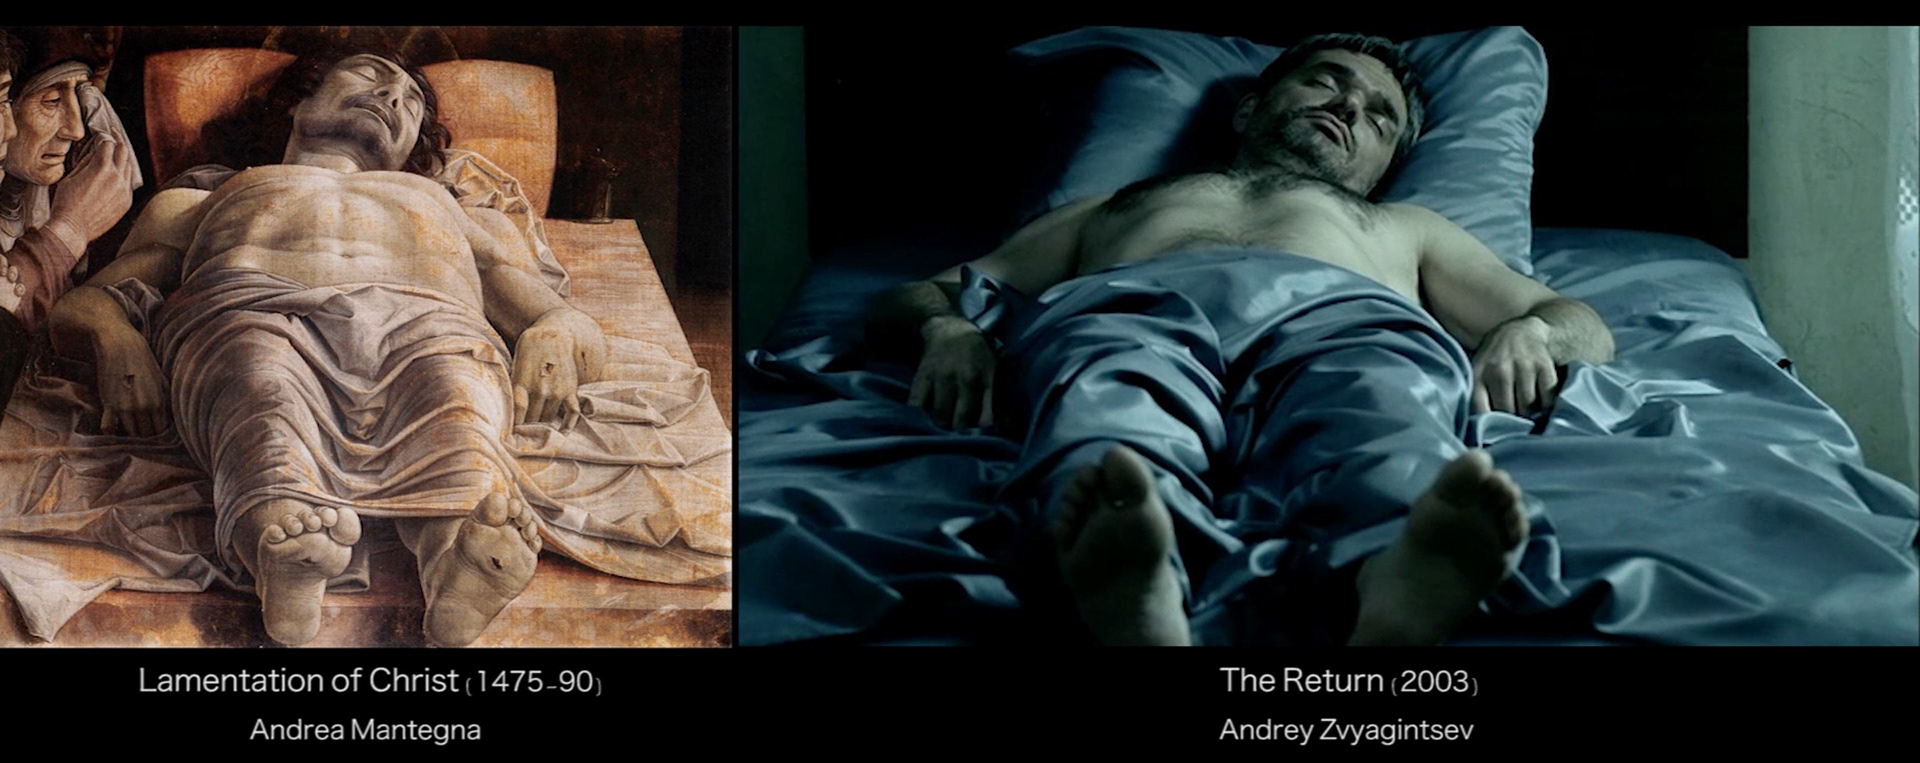
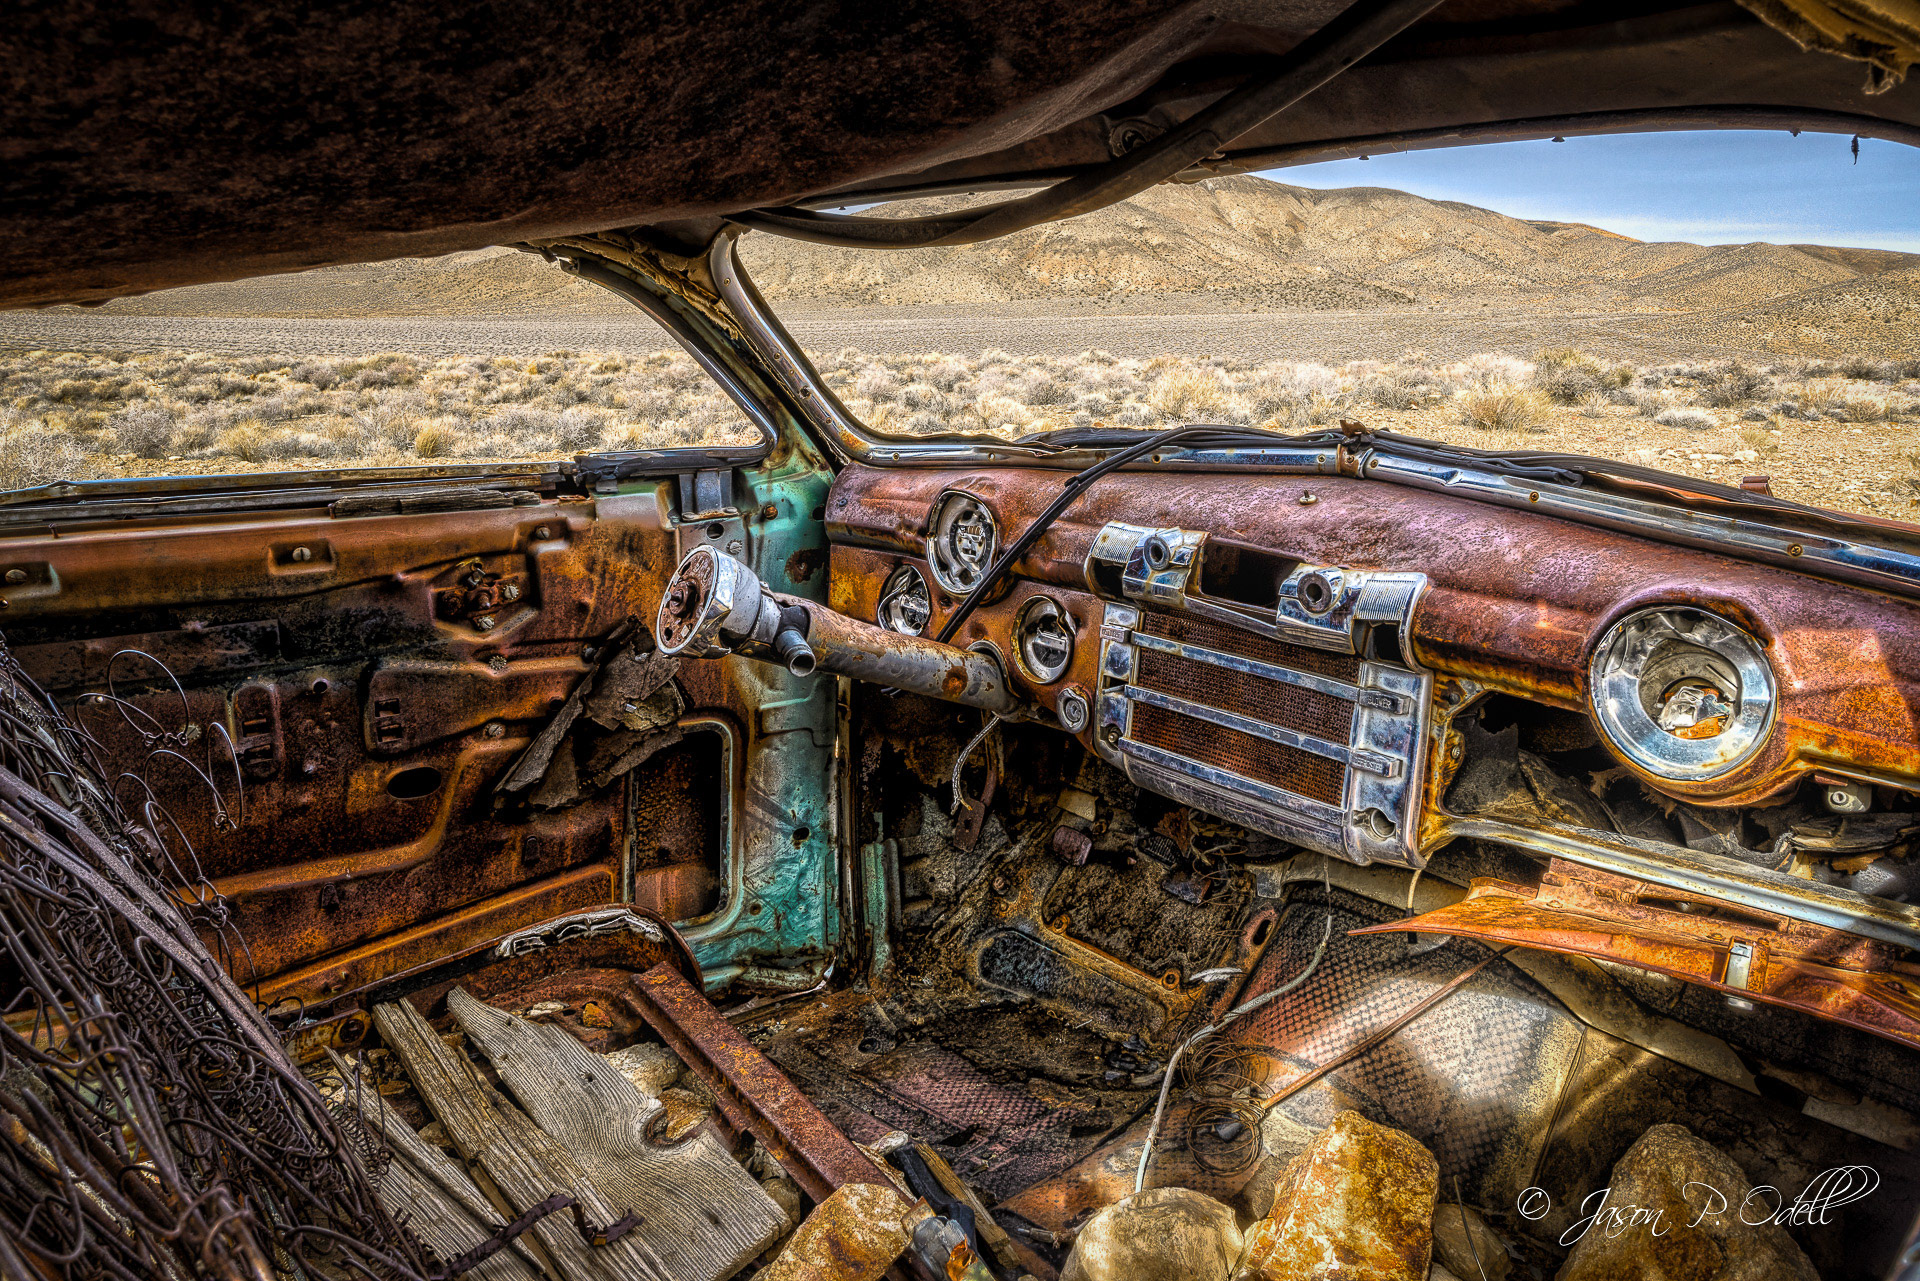
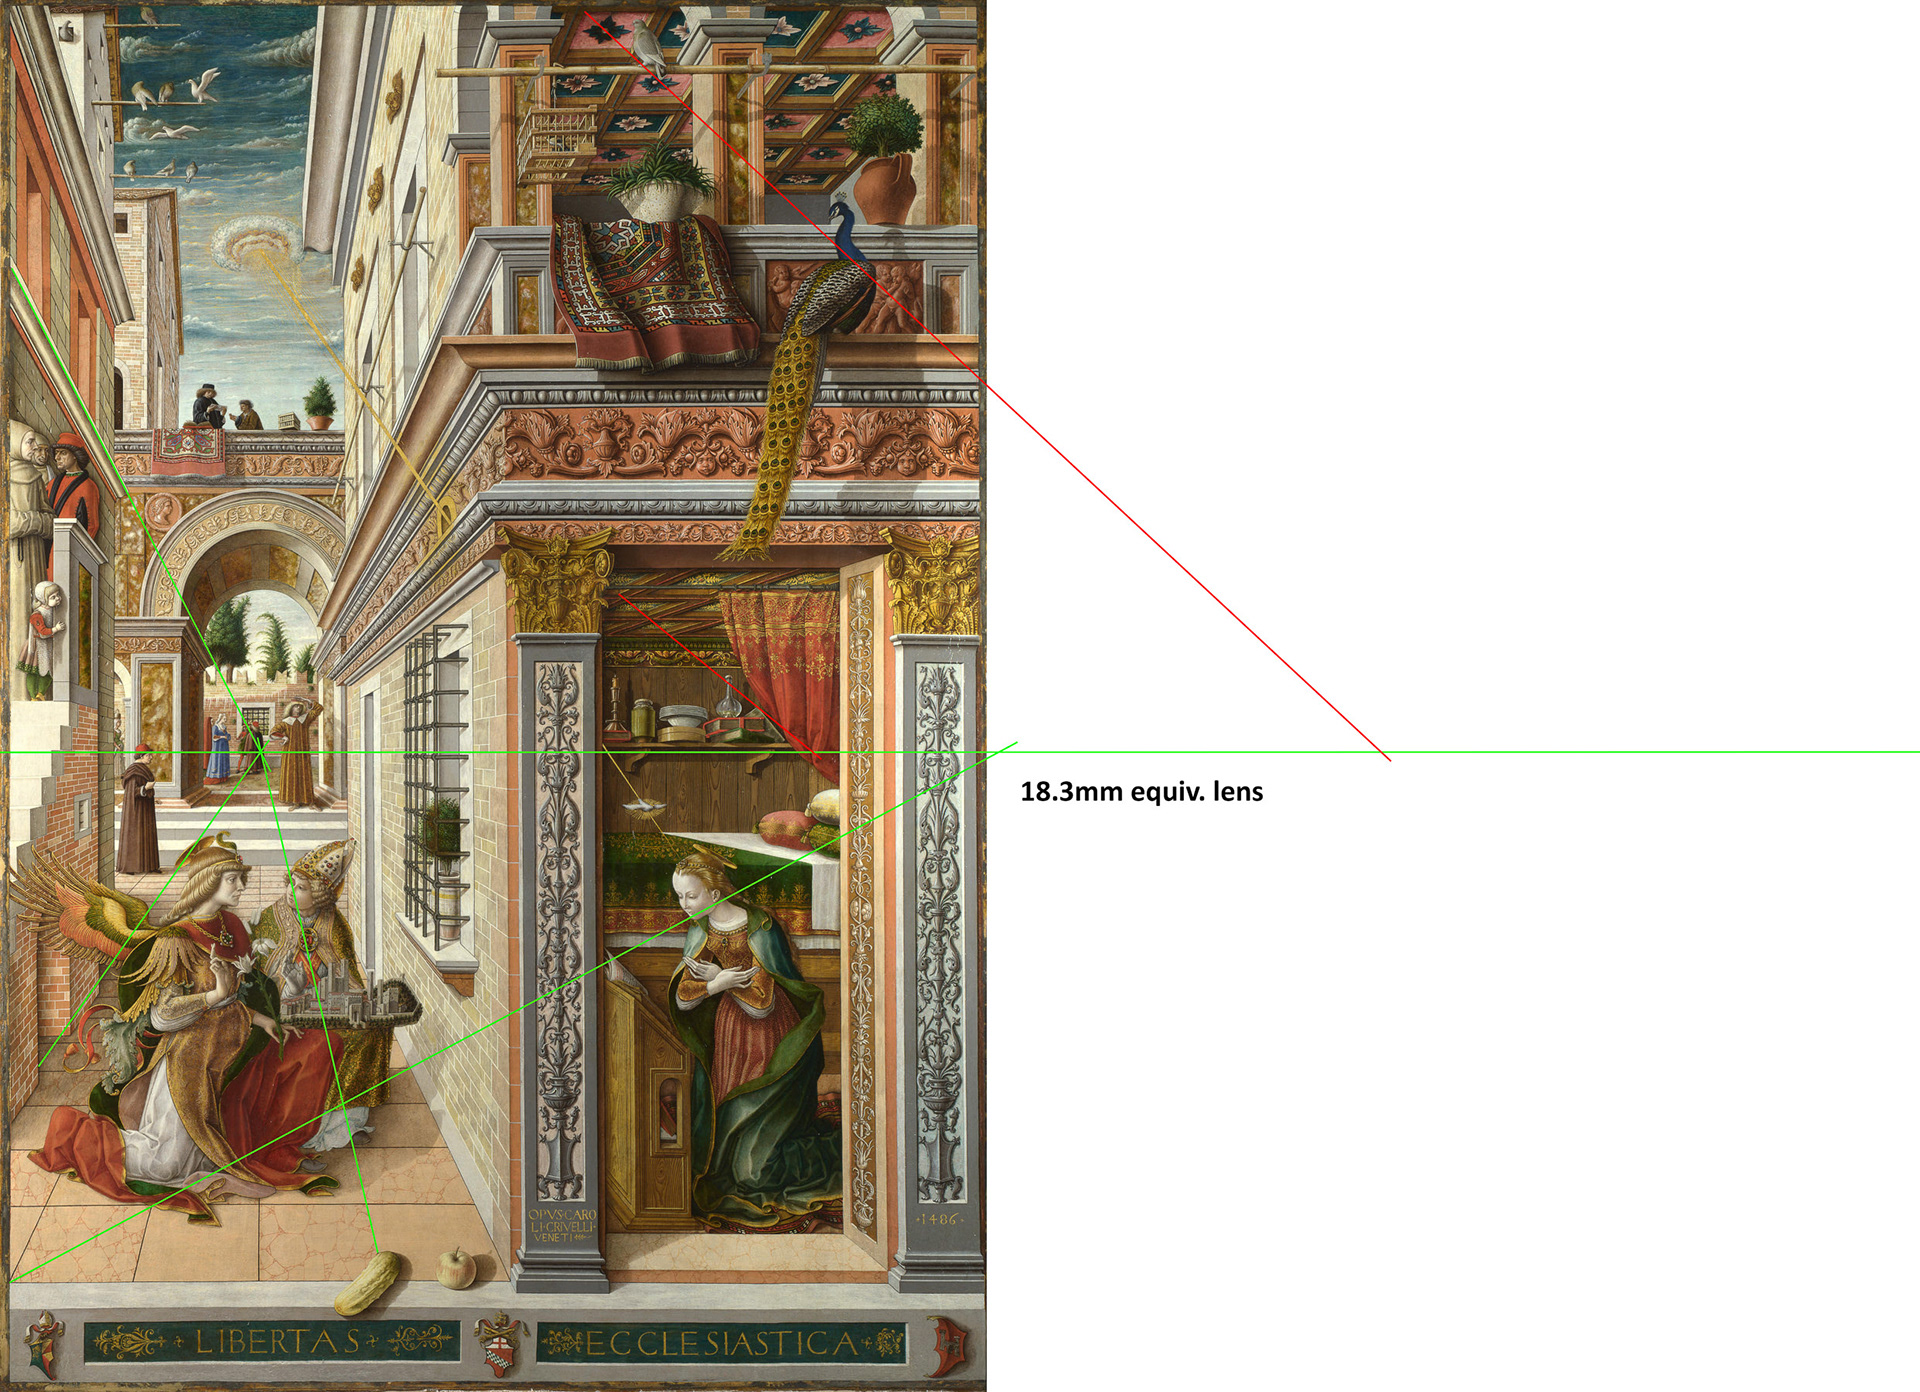
As I have stressed, we tend to view photos taken with wide-angle and telephoto lenses in the same manner as we view photos taken with a normal lens. Consequently, we view wide-angle photos from farther away than their viewpoint, and we view long-lens photos from too close up. This is where the lore of perspectival distortion originates. Mantegna’s Christ looks distorted, all right, but as we saw, this is no flaw of the painting but a consequence of our looking at it from too close.
If you want to use a telephoto lens and show convincing depth, you must place your viewers in the right position. This means, you must either show very small prints or else keep people at a distance. But this is not what you bought that big expensive lens for. So the lens is a poor choice for conveying space. A normal lens is good with respect to perspective under normal viewing conditions. But it is often still too narrow to capture what we are interested in. So we are forced to use wide-angles. What about their distortions?
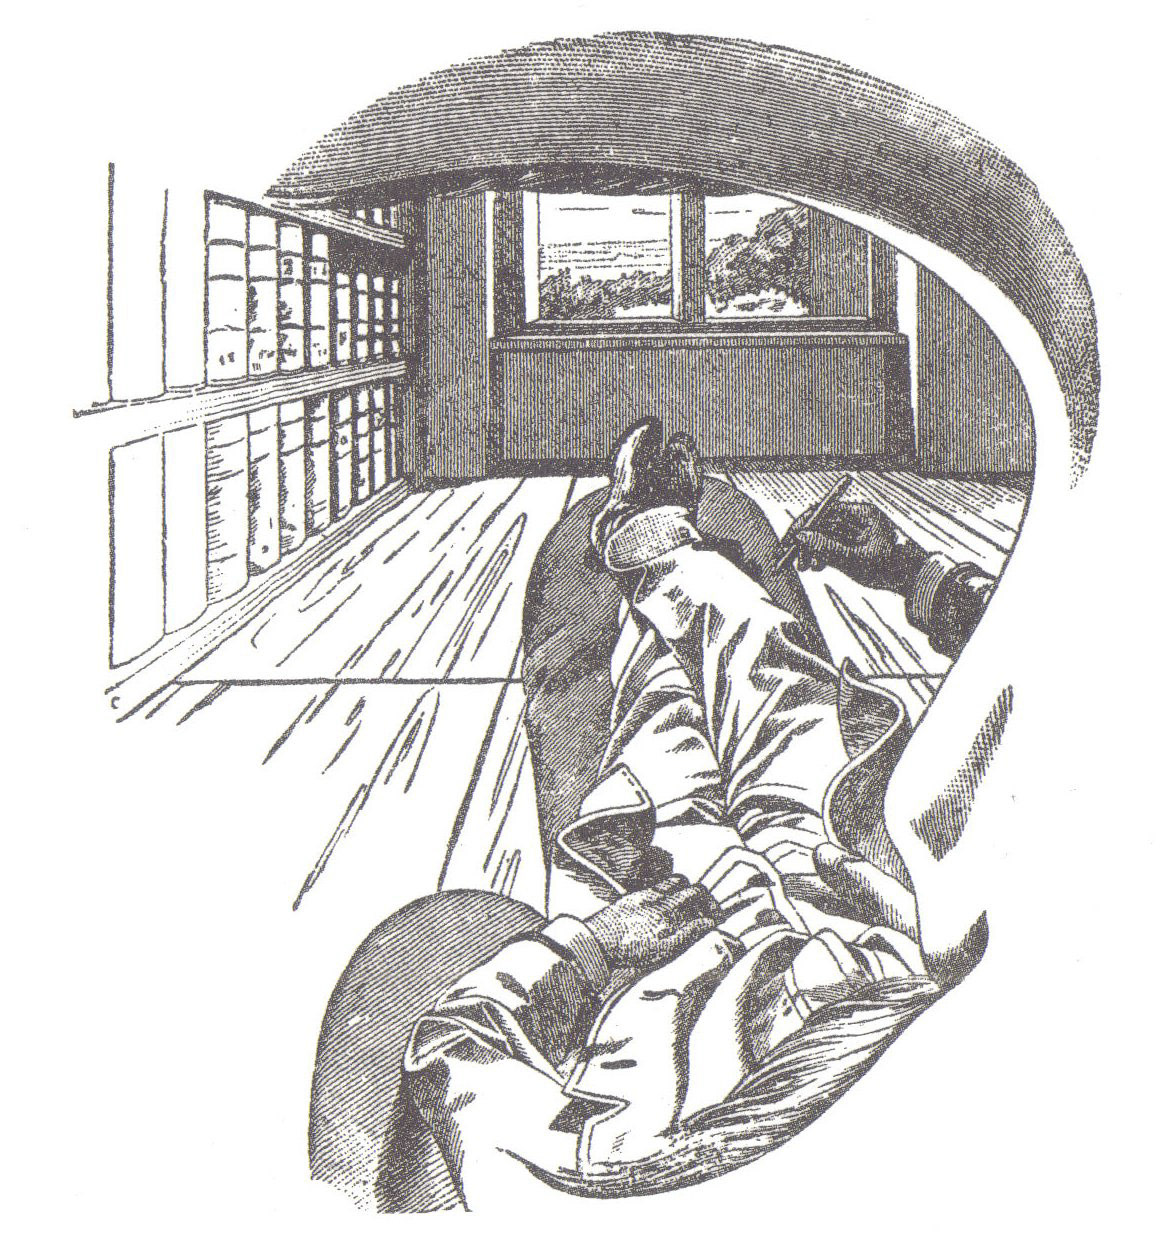
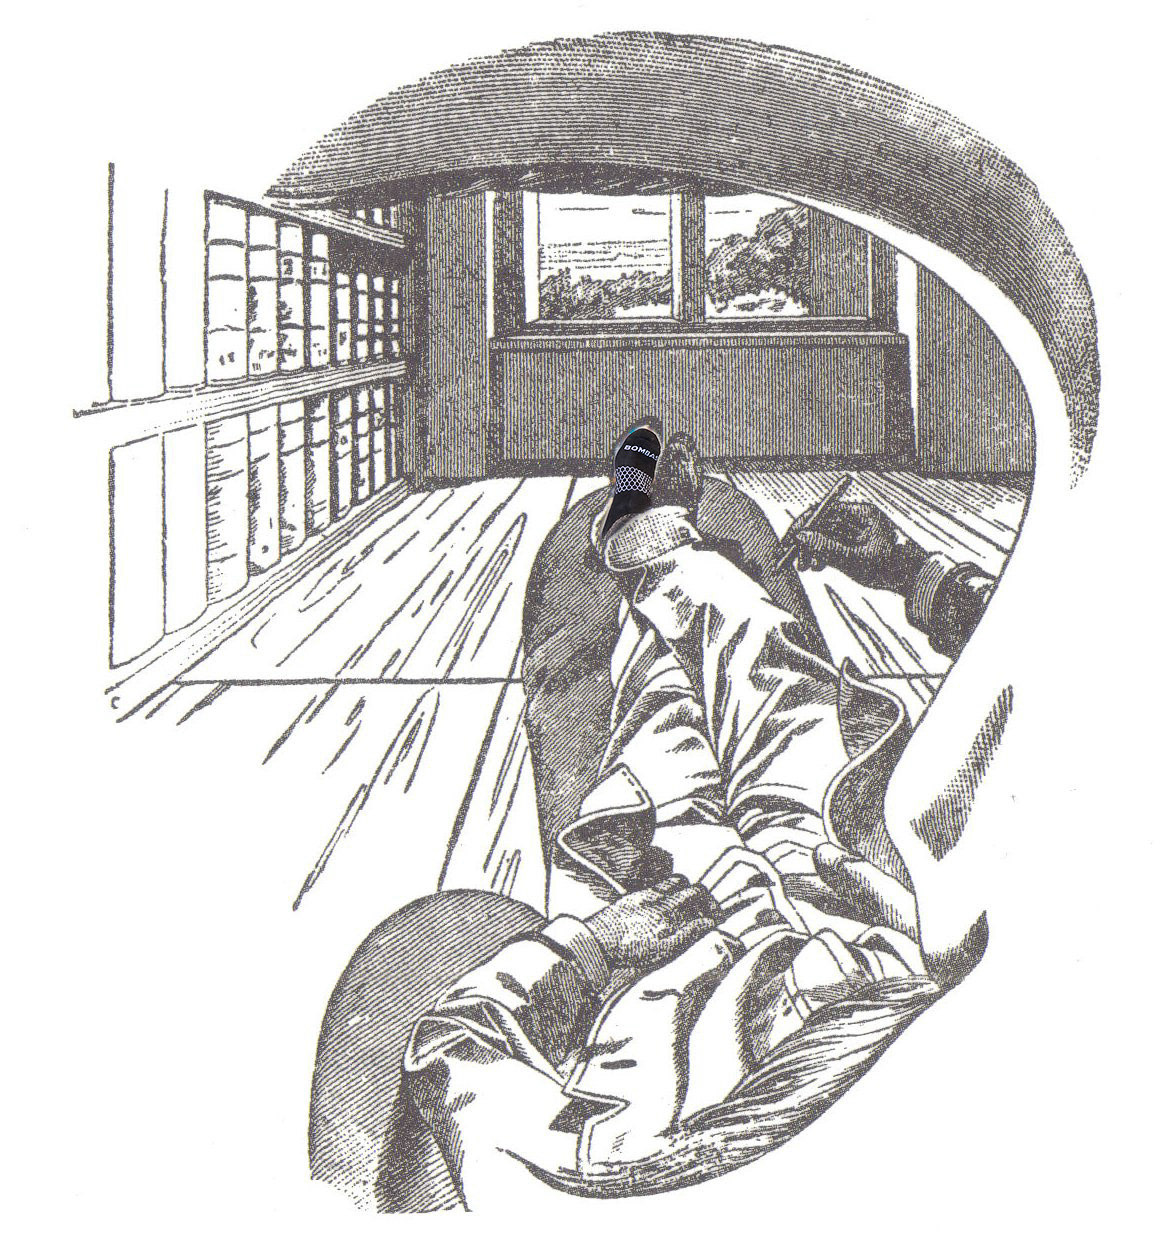
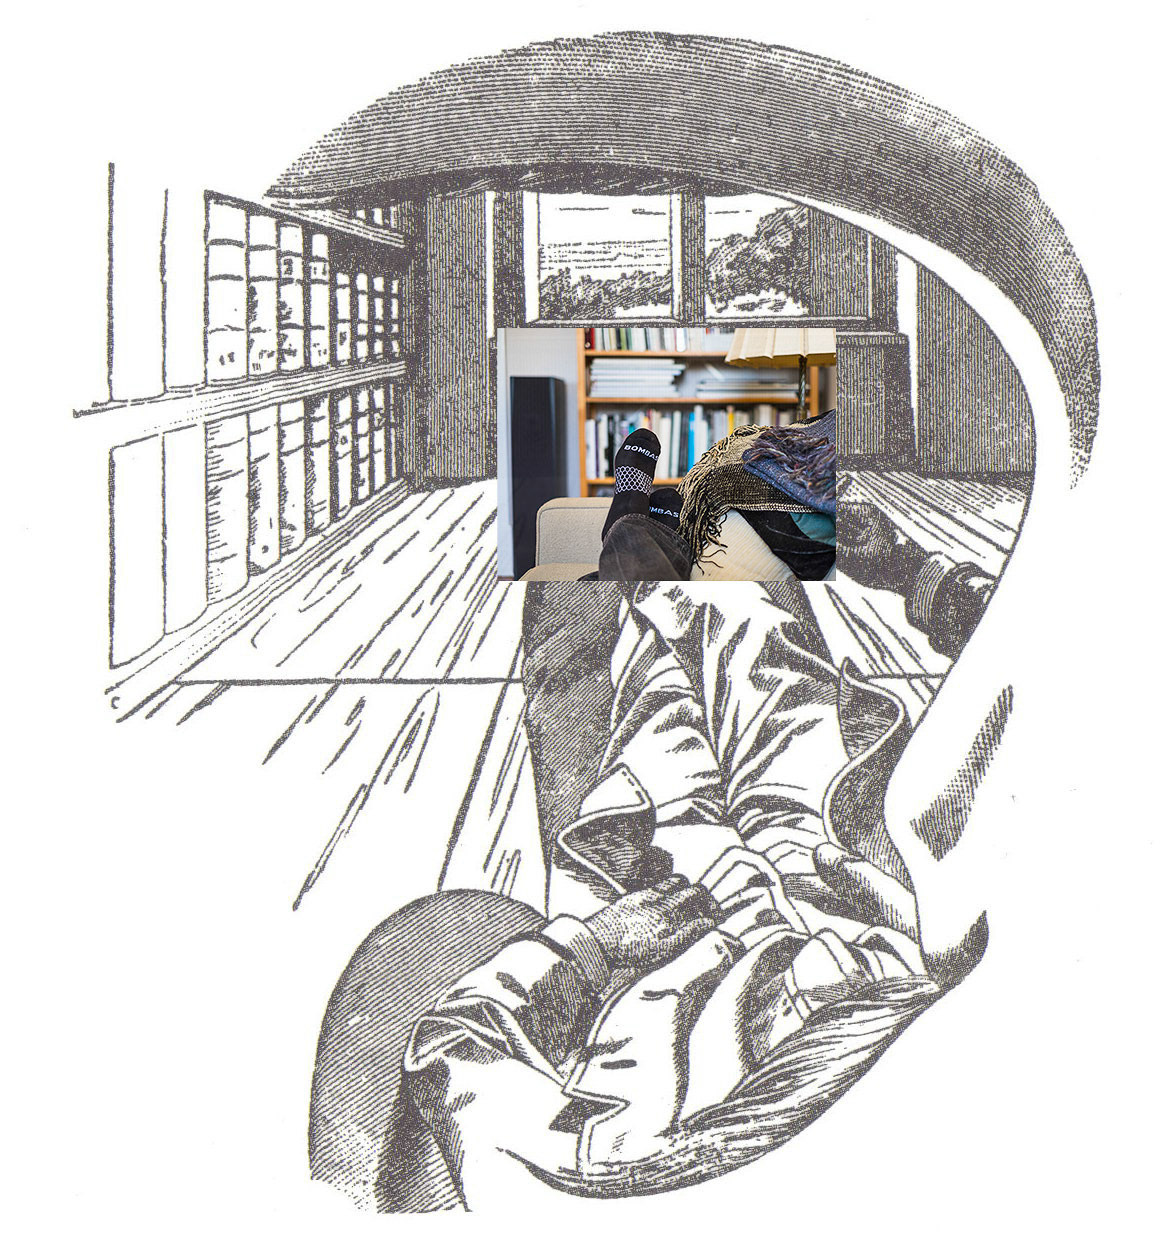
Let’s begin by convincing ourselves that, as with telephoto-lenses, the distortion is not a lens defect but the consequence of looking at the photo from the wrong vantage point.